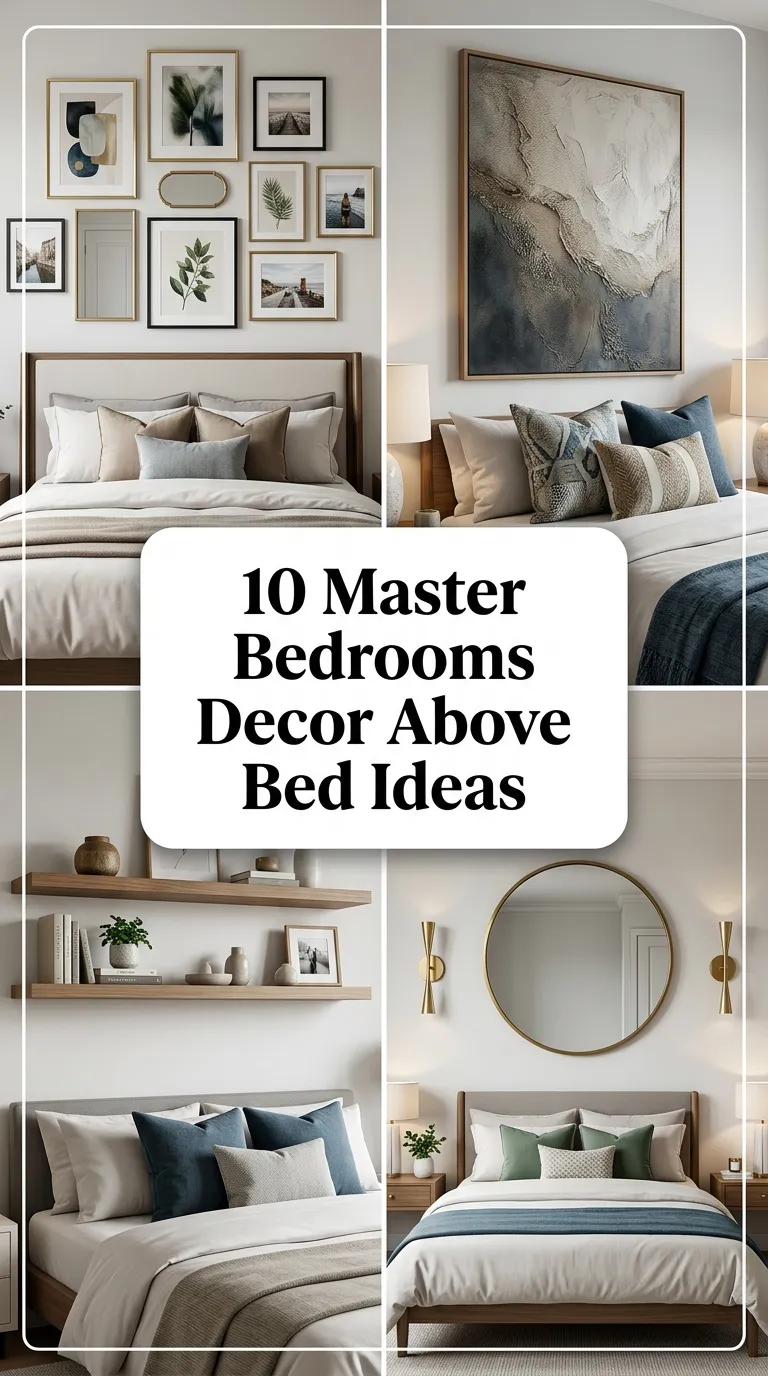
10 DIY Home Ideas That Make A Statement

If you have been saving bold home inspiration on Pinterest but playing it safe in real life, consider this your gentle nudge. Statement-making decor does not require a designer budget or a renovation crew. Some of the most striking rooms on Pinterest right now are the result of weekend DIY projects, a bit of paint, and the courage to go bigger than beige.
Scandinavian hygge might be famous for its quiet neutrals, but it also celebrates the handmade, the personal, and the wonderfully imperfect. A bold DIY statement, done with natural materials and a cozy heart, fits beautifully into a hygge home. Think of these projects as your space’s conversation starters — the pieces guests ask about, so you can smile and say you made them yourself.
Each idea below includes practical steps, material suggestions, and styling tips — pick the project that fits your space and start this weekend.
Idea 1: Oversized Abstract Canvas Art
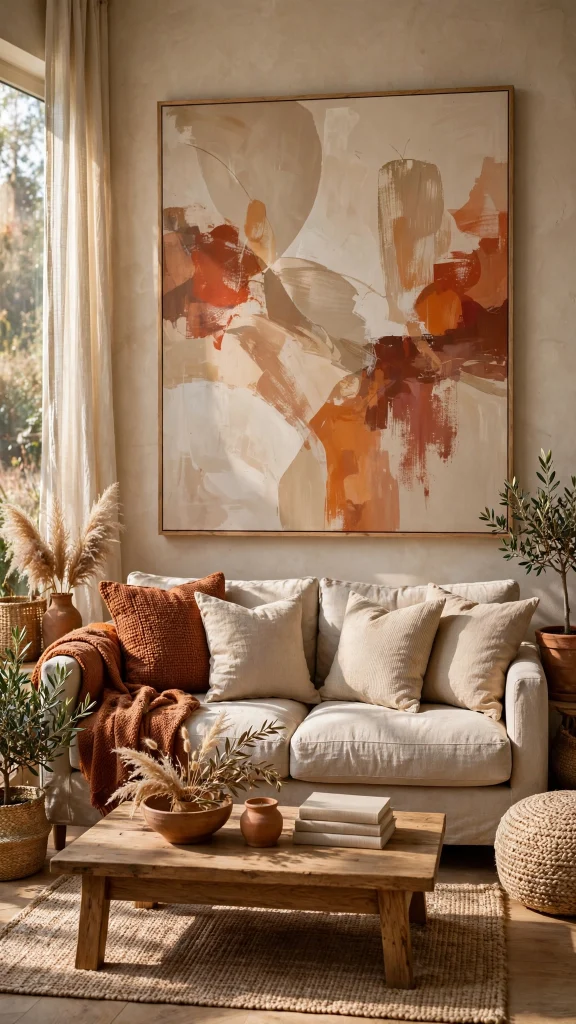
Nothing changes a room faster than art that is bigger than your comfort zone. An oversized abstract canvas — we are talking four feet wide or more — instantly becomes the anchor of a living room or bedroom, and painting one yourself is far easier than it looks. Grab a large stretched canvas from a craft store or an online sale, some acrylic paints in three or four coordinated colors, and a couple of wide brushes. There is no wrong way to do this: broad sweeping strokes, layered washes, and palette-knife textures all look intentionally artistic at a large scale, where small mistakes simply disappear into the composition.
The trick to a professional-looking result is restraint in your palette. Choose one hero color you love, one supporting tone, and two neutrals like warm white, oatmeal, or soft charcoal. Work from dark to light, building layers and letting sections dry between coats for that depth you see in gallery pieces. Step back often, because a large canvas reads completely differently from six feet away than from arm’s length.
Hang it low enough to relate to your furniture — about six to eight inches above a sofa or console — and keep the surrounding wall empty so the art has room to breathe.
Idea 2: Painted Arch Accent Wall
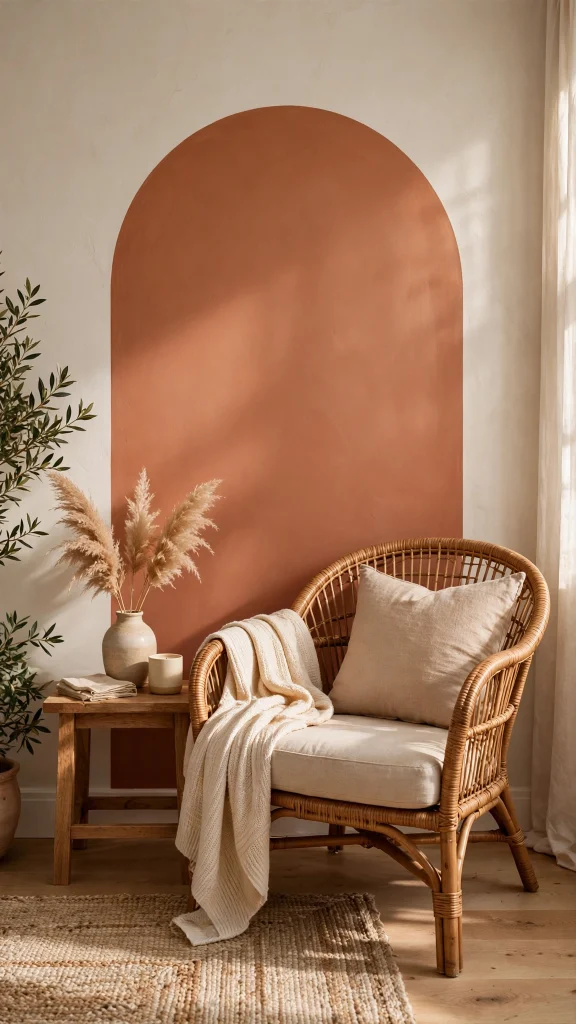
The painted arch is the darling of Pinterest right now, and for good reason: it costs almost nothing, takes an afternoon, and transforms a flat wall into an architectural feature. All you need is a quart of paint in a rich, warm tone — think terracotta, olive, deep ochre, or a moody forest green — plus a roll of painter’s tape, a small roller, and a steady hand. An arch painted behind a bed, a reading chair, or a console table creates the illusion of a recessed alcove, giving your furniture a framed, intentional backdrop.
To draw a perfect arch, measure your desired width and find the center point on the wall. Tie a pencil to a string, pin the string at the center, and swing the pencil in a half circle from one edge to the other. Trace the arc, extend straight lines down to the floor or skirting board, and fill the shape with two coats of paint. Layered arches — a smaller arch inside a larger one in a lighter tint — look especially high-end.
Style the space in front of your arch with intention: a boucle chair, a small side table with a candle, or a stack of art books. This project works wonderfully in rentals too, since one painted shape is far easier to cover later than a fully painted room.
Idea 3: Thrifted-Frame Gallery Wall
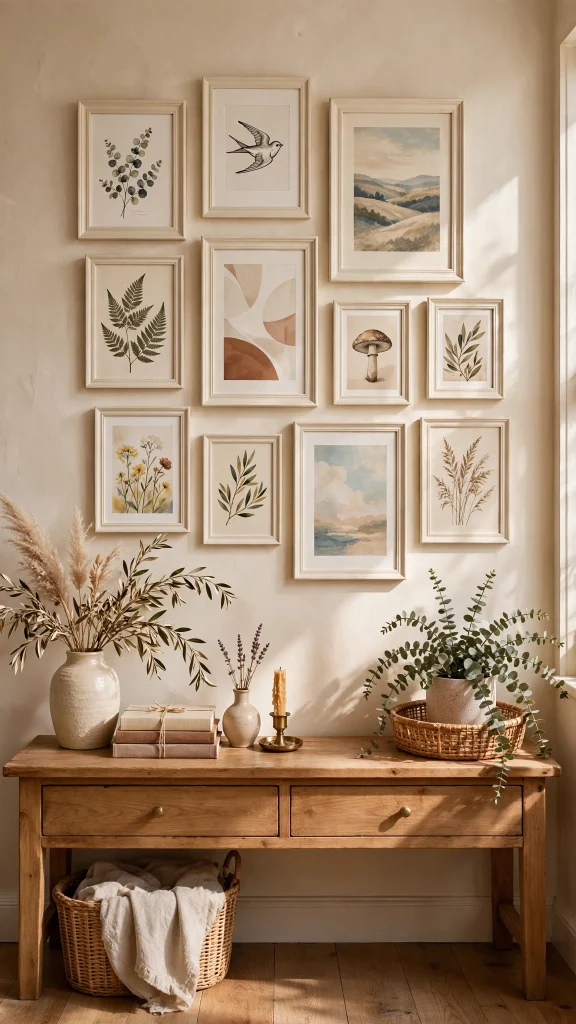
A gallery wall is not new, but a gallery wall built entirely from thrifted frames is a statement of personality that no store-bought set can match. Spend a weekend hunting charity shops and flea markets for frames in all shapes and sizes — ornate gold ones, chunky wooden ones, slim black ones — and aim for ten to fifteen pieces. The magic happens when you unite them with a single element: either paint every frame the same color (matte black or warm white both look chic) or fill them with art in a consistent palette. Mismatched frames, unified finish equals curated, not chaotic.
For the artwork inside, mix free printables, pages torn from old art books, family photographs, pressed leaves, and your own simple line drawings. Lay the whole arrangement on the floor first, starting with the largest frame in the center and building outward. Photograph your floor layout before hanging — adjustments are easier there than on the wall. Keep the spacing consistent, about two to three inches between frames, for a polished look.
Hang your gallery in a high-impact spot: up a staircase, above a desk, or filling an entire hallway wall. The best part is that it evolves — swap pieces seasonally, add new finds, and let the wall grow with you.
Idea 4: DIY Limewash Feature Wall
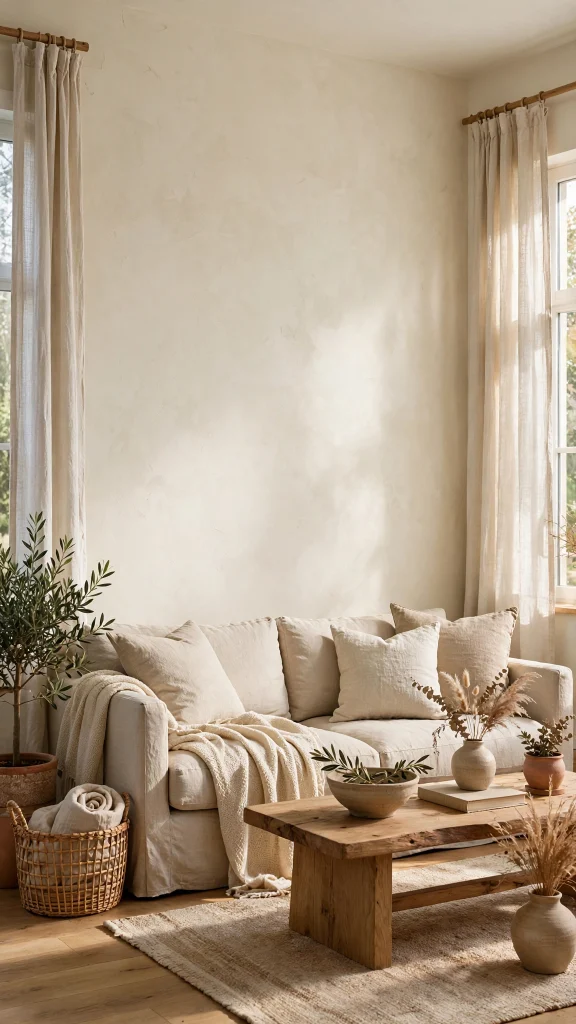
Limewash is the finish behind those dreamy, cloud-soft walls all over Pinterest, and the DIY version is surprisingly approachable. Real limewash paint, or a good limewash-effect paint, goes on with a large block brush in loose, crisscross strokes, creating a mottled, chalky texture with incredible depth. The result looks like aged plaster — full of movement and softness — and it brings a quiet drama that flat paint simply cannot match. One feature wall in a warm greige, clay, or mushroom tone will make your whole room feel like a boutique hotel.
Preparation is minimal: clean the wall, apply the recommended primer if your paint calls for it, and then brush on two coats using random X-shaped strokes. The technique is forgiving by design — the variation is the point, so there are no roller marks or visible edges to worry about. Colors look significantly different once dry, so test a sample board first and live with it for a day before committing.
A limewash wall pairs beautifully with natural textures: linen curtains, a jute rug, raw wood furniture. The finish has an old-world, wabi-sabi quality that sits perfectly alongside Scandinavian hygge. It is bold in texture rather than in color, which makes it ideal if you love neutrals but crave more depth.
Idea 5: Statement Ceiling Medallion With Pendant Light
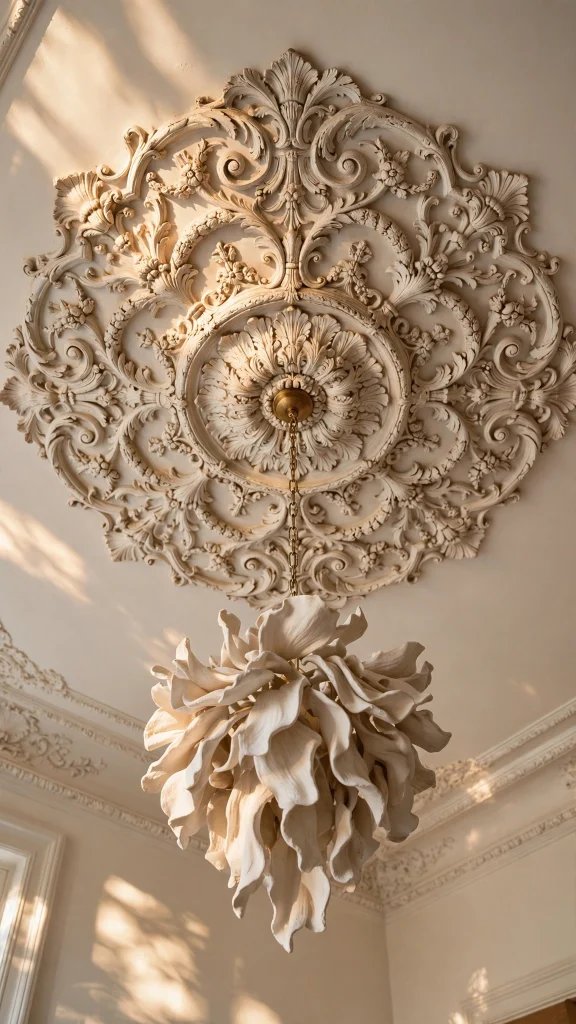
Most people forget the ceiling exists, which is exactly why a statement ceiling medallion stops people in their tracks. A large, ornate plaster-style medallion paired with a sculptural pendant light draws the eye upward and makes a dining room or bedroom feel grand and finished. Lightweight polyurethane medallions are inexpensive, easy to find online, and simple to install with construction adhesive — no plaster skills required. Choose one much larger than you think you need; a medallion that feels slightly oversized is what creates the drama.
Installation is a satisfying afternoon project. Turn off the power, remove your existing light fixture, and glue the medallion in place centered on your ceiling electrical box. Once the adhesive cures, caulk the edges and paint the medallion the same color as your ceiling for a seamless, built-in look. Then hang your pendant — a woven rattan shade, a ribbed glass globe, or a paper lantern in the Noguchi spirit all look stunning against the medallion’s detail.
The combination works because it layers two statements: the architectural detail of the medallion and the sculptural shape of the pendant. Center it over a dining table or in the middle of a bedroom for maximum effect.
Idea 6: Bold Layered Rugs
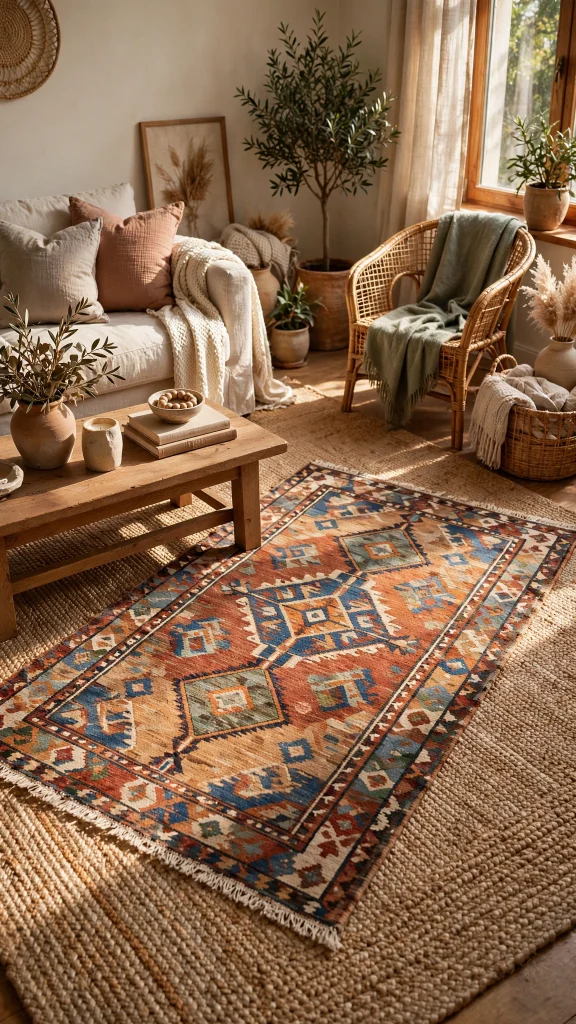
Layering rugs is the stylist’s trick for instant coziness with a bold twist, and it is completely DIY in the arrangement sense — no tools required, just a good eye. Start with a large, affordable natural-fiber base rug like jute or sisal, then layer a smaller, bolder rug on top at a slight angle: a vintage-style Persian, a graphic kilim, or a plush sheepskin-look piece. The contrast between the humble base and the statement top layer creates a collected, designer look that a single rug rarely achieves.
The rules are simple and made to be bent. The top rug should cover roughly two-thirds of the base, and an angled placement looks more relaxed and intentional than perfectly aligned edges. Do not be afraid of pattern mixing — a busy patterned top rug over a plain textured base almost always works. It is also practical: the base rug protects your floors and the top layer can be swapped seasonally.
Try this in a living room under the coffee table, beside a bed, or even in an entryway. Layered rugs make a space feel styled and finished in minutes, and they are renter-friendly since nothing is permanent.
Idea 7: Floor-to-Ceiling Styled Bookshelf
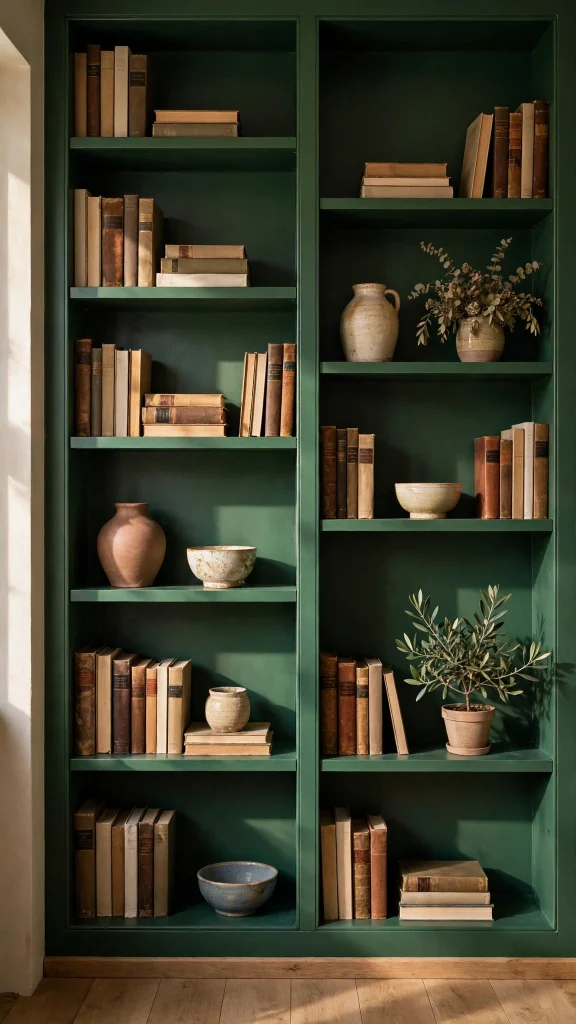
A floor-to-ceiling bookshelf wall is the ultimate cozy statement — part library, part art installation, and entirely magnetic. You do not need custom built-ins to pull it off: a row of affordable tall bookcases, pushed together and unified with a coat of paint in a deep, enveloping color like ink blue, forest green, or warm charcoal, reads as bespoke. Add simple trim or crown molding along the top to bridge the gap to the ceiling, and suddenly flat-pack furniture looks like millwork.
Styling is where the magic happens. Arrange books both vertically and in horizontal stacks, then weave in ceramics, small framed art, candles, and natural objects like driftwood or dried botanicals. Leave some breathing room — a shelf crammed edge to edge looks cluttered, while negative space makes each object feel curated. Paint the back panels of the shelves in a slightly lighter tone for depth, or line them with removable wallpaper for a surprise pattern.
A full bookshelf wall becomes the soul of a living room or home office, inviting people to browse and linger. It is a bigger weekend project, but the payoff is enormous: a wall that is endlessly restyleable, deeply personal, and impossible to ignore.
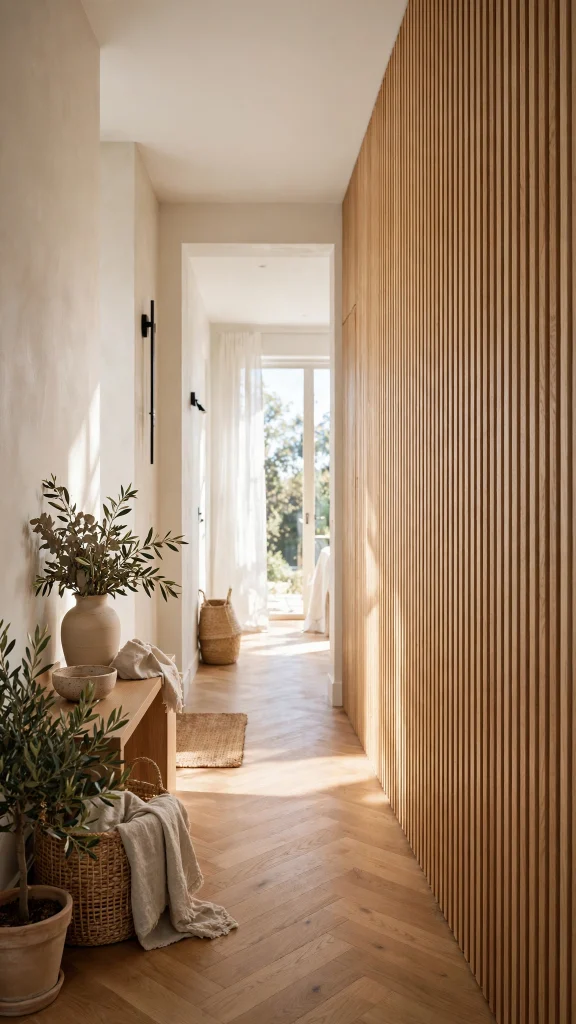
Idea 8: DIY Fluted Wood Panel Accent
Fluted wood paneling — those rhythmic vertical slats you see in high-end Scandinavian and Japandi interiors — is a showstopper, and the DIY version is very doable. Thin wooden battens or half-round dowels, glued or nailed in even rows to a single wall, create gorgeous texture and shadow play. Behind a bed, a sofa, or a television, a fluted accent wall adds architectural interest that paint alone cannot deliver, and the vertical lines make ceilings feel taller.
Measure your wall and cut battens to length with a simple hand saw or have the lumber store cut them for you. Spacing is everything: consistent gaps of about half an inch between slats create the clean, tailored look, so use a spacer block as you work. Attach with construction adhesive and a few brad nails for security. For the finish, a clear matte sealant keeps the wood’s natural warmth, while painting the slats the same color as the wall creates a subtle, tone-on-tone texture that is pure elegance.
The material cost is modest — softwood battens are among the cheapest lumber available — but the result looks custom and expensive. In a hygge home, natural wood slats add the organic warmth the style loves while delivering a bold, modern statement. Run your hand along the ridges when it is done; the tactile quality is half the pleasure.
Idea 9: Oversized Mirror Focal Point
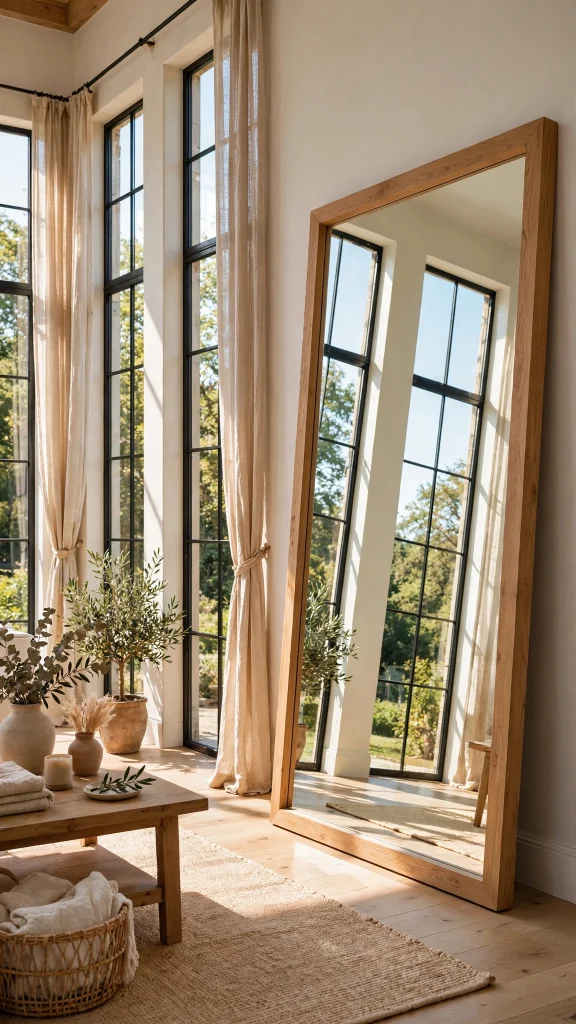
An oversized mirror is the hardest-working statement piece in home decor: it doubles light, doubles the sense of space, and creates a focal point all at once. Leaning a very large mirror — full-length or wider — against a wall instead of hanging it gives an effortlessly chic, editorial look straight off Pinterest. Check secondhand marketplaces first; large mirrors are frequently listed cheaply because they are awkward to move, which is your opportunity. A quick clean and, if needed, a coat of paint on the frame is the only DIY required.
Placement matters most. Opposite a window is the golden rule: the mirror bounces daylight deep into the room and reflects the view, effectively doubling your outlook. In a bedroom, lean one in a corner to create a dressing area; in a living room, place it behind a console or beside a fireplace. Keep the area in front of the mirror styled but simple — a plant, a basket, a floor cushion — so the reflection stays calm and beautiful rather than cluttered.
For extra drama, look for an arched or unusually shaped mirror; the silhouette becomes sculpture. A huge mirror in a small or dark room is transformative in a way few other single items can match. It is bold without adding visual weight, which makes it perfect for Scandinavian-style spaces that prize light and airiness.
Idea 10: Sculptural Paper-Mache Decor Piece
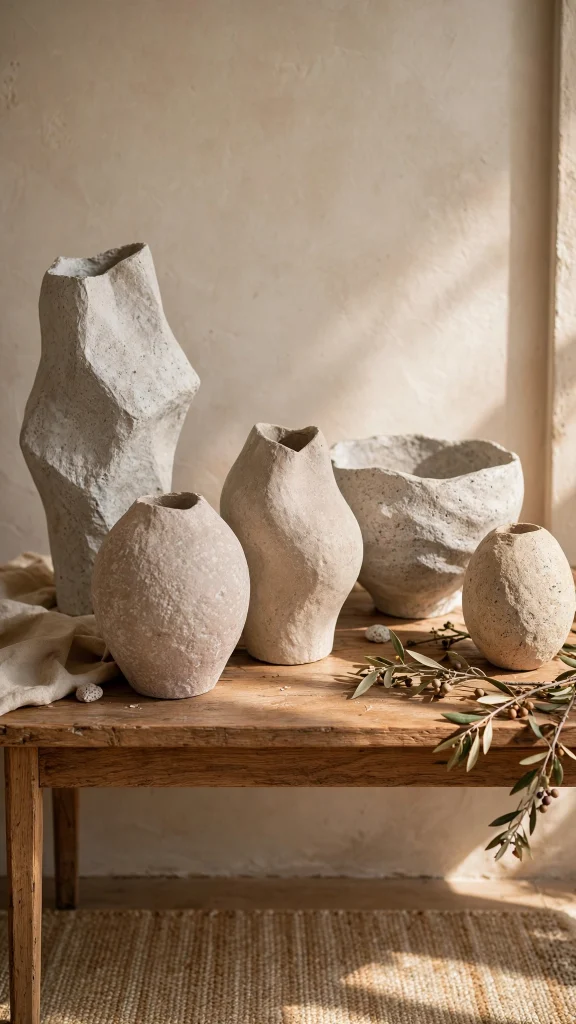
Paper-mache is having a well-deserved renaissance, and a sculptural handmade piece is the most unexpected statement on this list. Think organic, blob-like vessels, oversized bowls, or abstract tabletop sculptures with a chalky, stone-like finish — the kind of artisan objects that sell for hundreds in design stores. All you need is newspaper, flour-and-water paste or wallpaper paste, a balloon or bowl as a form, and matte paint in a plaster white or clay tone. The process is gloriously messy and meditative, perfect for a slow weekend.
Build your form, apply three to four layers of paper strips, and let it dry completely between layers — patience is the only hard part. Once dry, pop the form, sand lightly, and paint with a couple of coats of matte paint, finishing with a subtle wash of a darker tone in the crevices for an aged, handmade look. The irregular surface is the whole point: no two pieces are alike.
Style your sculpture where it can be appreciated up close: a coffee table, an entryway console, or a styled shelf. Group two or three pieces of different sizes for a gallery-like arrangement. This project embodies hygge completely — handmade, humble materials transformed into something beautiful, full of the maker’s touch.
Final Thoughts
Making a statement at home does not mean shouting. As these ten ideas show, the boldest rooms are often the ones where a single brave choice — a wall of fluted wood, a canvas bigger than your sofa, a ceiling that finally gets its moment — is wrapped in warmth, texture, and the unmistakable feel of handmade. Pick the project that made your heart beat a little faster while reading, and give it a weekend. That is all it takes to start.
Remember the golden rule of statement decor: one star per room. Let your oversized art, your limewash wall, or your sculptural paper-mache piece take center stage, and keep everything around it calm and cozy. Pin your favorite ideas, gather your materials, and enjoy the process.