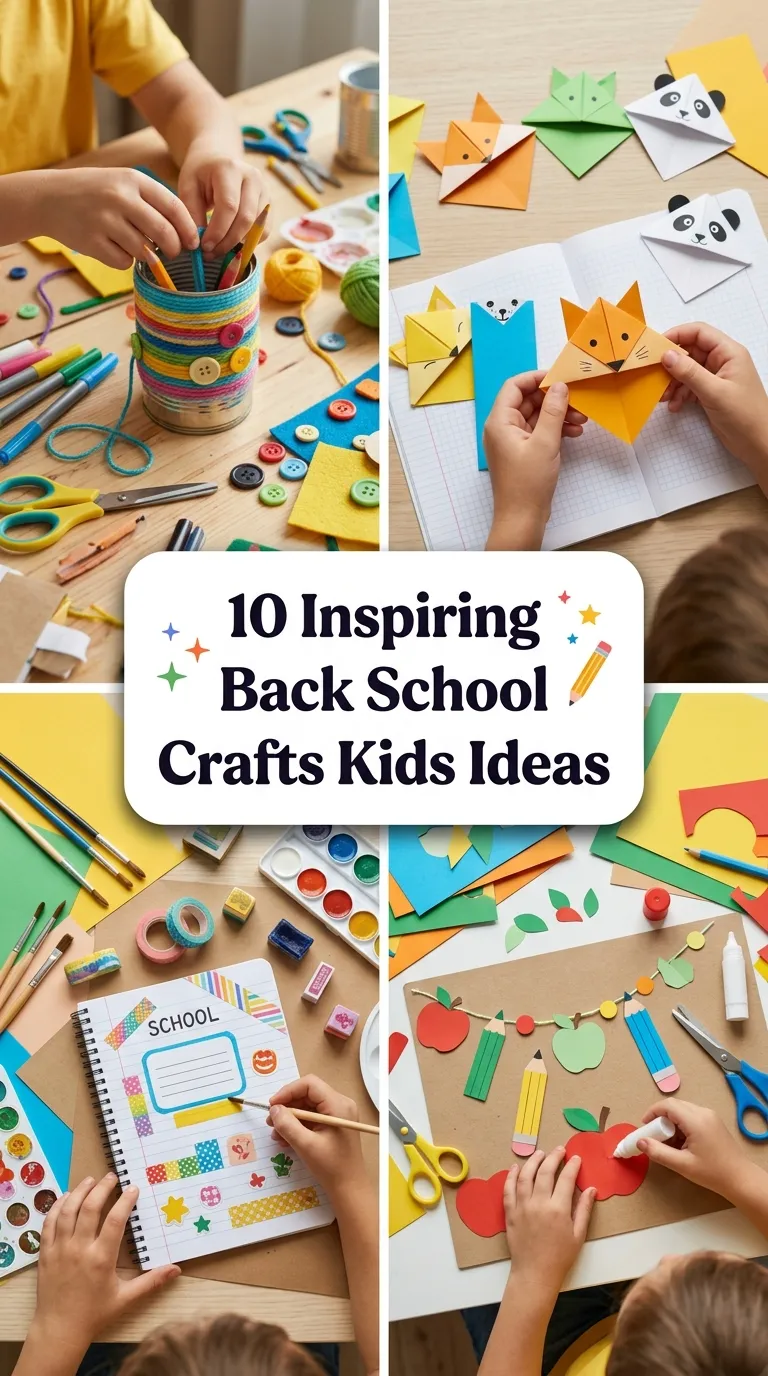
10 Inspiring Back School Crafts Kids Ideas
Back to school season is the perfect time to slow down, gather your craft supplies, and make something with your own two hands before the busy rhythm of the school year takes over. Handmade crafts give kids a sense of ownership over their school supplies, turn ordinary objects into personal treasures, and sneak in fine-motor practice and creativity without feeling like homework. These ten projects are designed to be simple enough for young makers to finish with pride, yet charming enough that older kids will enjoy them too.
Each idea uses affordable, easy-to-find materials — felt, washi tape, tin cans, cereal boxes — and every project doubles as a practical school companion once it is finished. Whether your child wants a personalized pencil pouch, a decorative desk organizer, or a keepsake from the first day of school, this list has a craft for every mood. Gather the kids, put on some music, and let these back-to-school craft ideas inspire a cozy afternoon of making together.
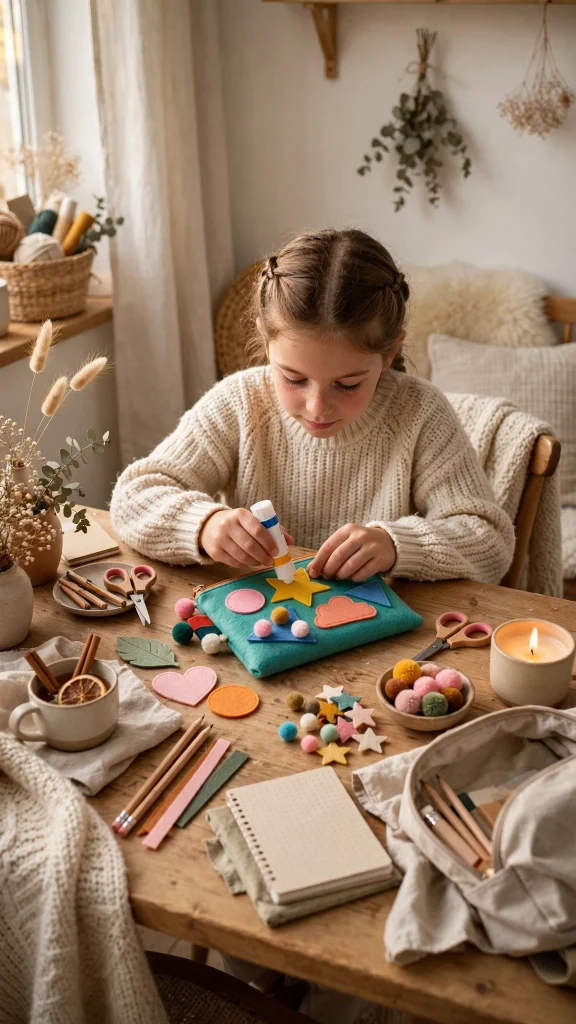
Idea 1: No-Sew Felt Pencil Pouches
No-sew felt pencil pouches are the perfect first project for young crafters because felt does not fray, so there are no raw edges to worry about and no sewing machine required. All you need is a sheet of craft felt, fabric glue or a low-temperature glue gun, and a few decorative bits like buttons, felt shapes, or stick-on jewels. Kids can fold a rectangle of felt into thirds, glue the side seams, and then decorate the front flap with their initials, favorite animals, or bright patterns cut from leftover felt scraps.
The beauty of this project is how forgiving it is. If a shape is cut a little crooked, it only adds to the handmade charm. Parents can help younger children with the glue gun while older kids can work independently from start to finish. Try offering a few color palettes — soft pastels, bold primaries, or earthy tones — and let each child choose their own so every pouch feels personal and unique.
Once the glue is fully dry, these pouches are sturdy enough for daily use in a school bag. Add a small snap or a Velcro dot for the flap, and slip in pencils, crayons, or erasers. Kids love opening a pouch they made themselves, and it is a lovely little confidence boost on the first day of school. You can also make matching pouches for siblings or friends as sweet back-to-school gifts.
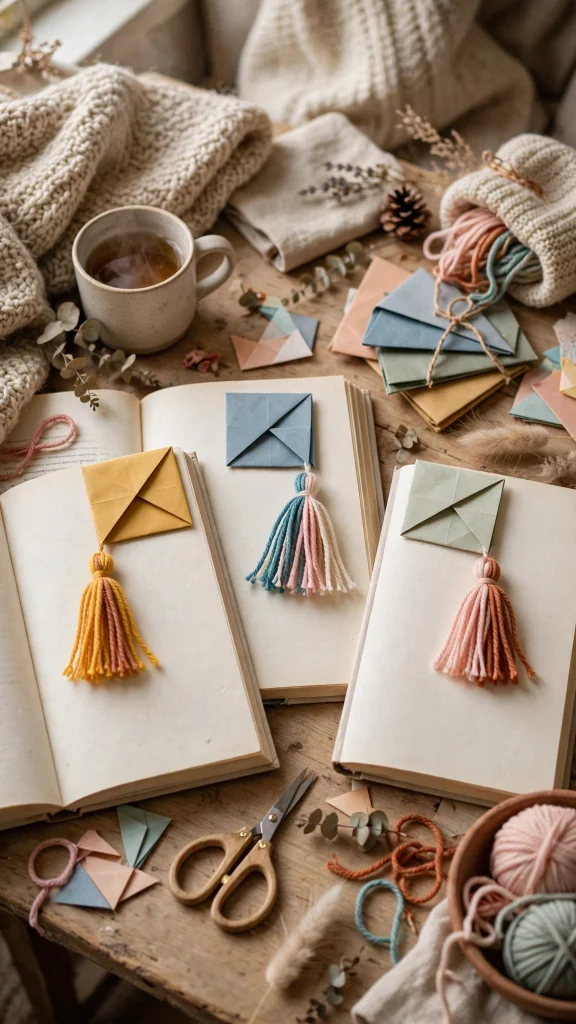
Idea 2: Corner Bookmarks with Tassels
Corner bookmarks are small, quick to make, and incredibly satisfying — they slip right over the corner of a page and instantly turn any book into something special. Start with a square of cardstock or origami paper, fold it into a triangle pocket using the classic corner-bookmark fold, and let kids decorate it with doodles, stickers, or washi tape patterns. A colorful tassel attached to the tip adds a playful finishing touch and makes the bookmark easy to spot between pages.
Making tassels is a craft in itself and great for developing fine motor skills. Wrap embroidery floss or yarn around a small piece of cardboard, tie it at the top, snip the bottom loops, and trim evenly. Kids can mix and match colors, add a small bead, or even layer two tassels for a bolder look. The whole project takes about twenty minutes, which makes it ideal for an after-school craft session or a rainy weekend afternoon.
These bookmarks make wonderful little gifts for classmates, teachers, or reading buddies. Encourage kids to make a set in different color schemes — one for adventure stories, one for chapter books, one for the family cookbook. Tuck one into a library book as a surprise for the next reader, and watch how a simple handmade bookmark brings a smile to someone’s face.
Idea 3: Washi-Tape Notebook Covers
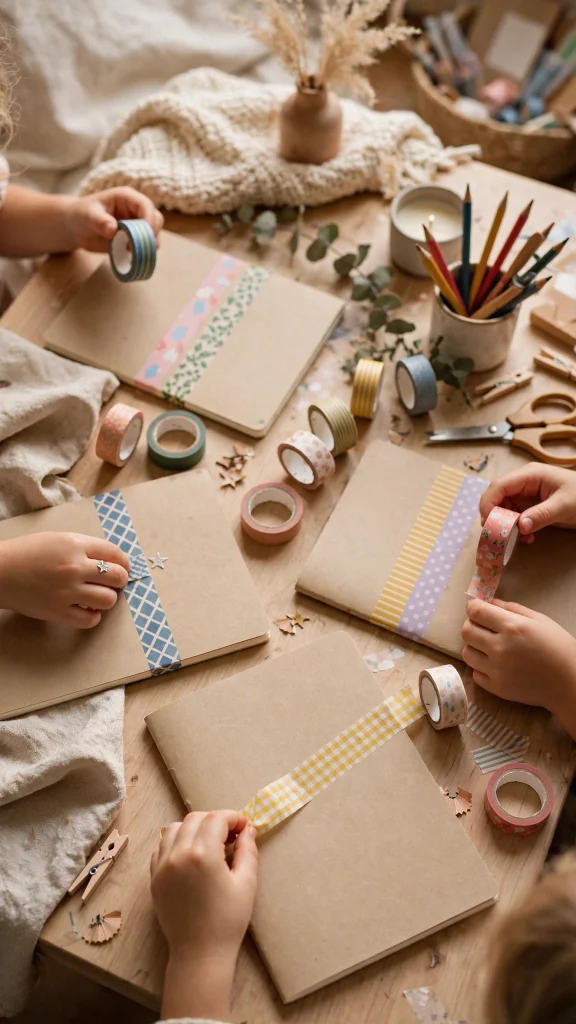
Plain notebooks become instant favorites with a little washi tape magic. This project could not be simpler: give each child a plain composition book or spiral notebook, a selection of washi tape rolls, and free rein to decorate the cover however they like. Stripes, grids, color blocking, borders around a hand-drawn title — the possibilities are endless, and there is no wrong way to do it.
Washi tape is wonderfully forgiving for young crafters because it peels off and repositions easily, so mistakes are never a disaster. Encourage kids to plan a loose design first, maybe by sketching it on scrap paper, then build it up layer by layer. They can label each notebook for a different subject with a distinct color scheme, making it easy to grab the right one from a backpack. Adding a small paper label or a sticker name tag finishes the look.
Beyond the cover, washi tape can decorate the page edges, mark important sections with little flags, or create dividers inside the notebook. This is a craft that grows with the school year — kids can add new tape designs as their notebooks fill up. It is also a fantastic boredom-buster for long car rides or quiet afternoons, since the supplies fit neatly in a small bag.
Idea 4: Shrink-Plastic Backpack Tags
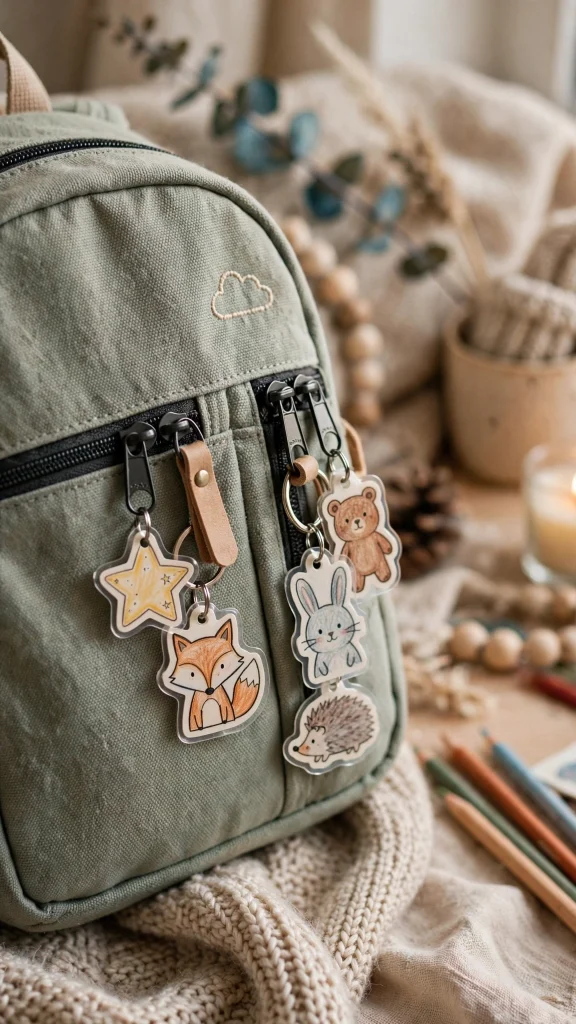
Shrink-plastic backpack tags are part craft, part science experiment, and kids are always amazed when their flat drawings curl up and shrink into sturdy little charms in the oven. Each child draws a design on shrink plastic with permanent markers — a name, a favorite animal, a lightning bolt — cuts it out, punches a hole near the edge, and an adult bakes it for a couple of minutes. Out comes a thick, durable tag ready to hang on a zipper.
Remind kids to draw big and bold, since the plastic shrinks to roughly a third of its original size and colors become richer and more vibrant. Tracing over a printed template works well for younger children who want a precise shape, like a star or a cloud. A coat of clear sealant or a layer of packing tape on each side keeps the colors bright through months of backpack bumps and playground adventures.
Thread the finished tag onto a key ring or a loop of colorful cord and clip it to a lunchbox, backpack, or pencil case. These tags make it easy for kids to spot their own bag in a crowded hallway or on a field trip. Make a few extras to trade with friends, and you have a craft that is equal parts art project, name label, and playground currency.
Idea 5: Tin-Can Desk Organizers
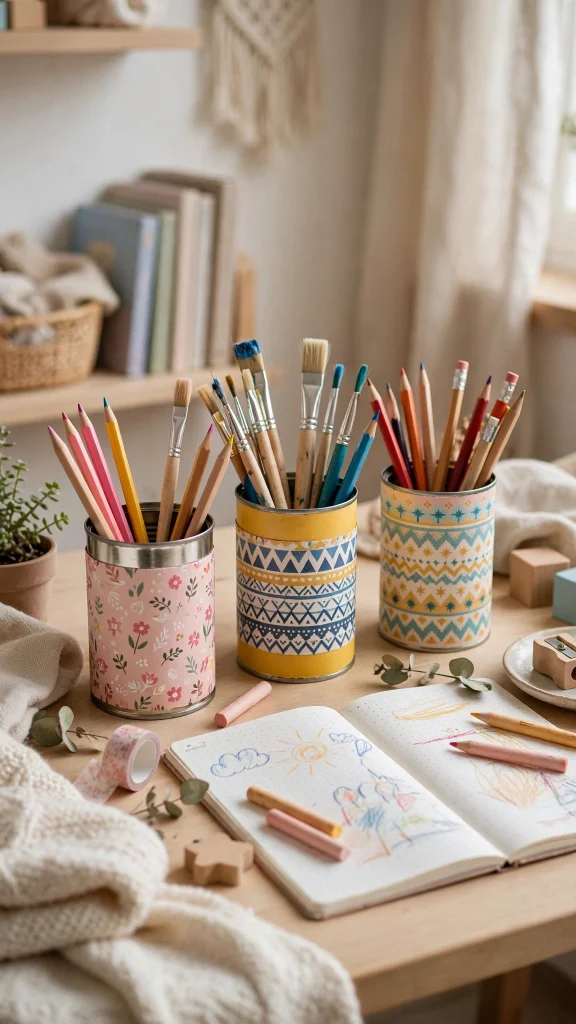
Empty tin cans transform into charming desk organizers with nothing more than paint, paper, and imagination. Start by cleaning the cans thoroughly and sanding any sharp edges, with an adult handling that prep step. Then kids can wrap the cans in patterned paper, paint them in cheerful colors, or cover them in fabric scraps glued neatly around the outside. Group three or four cans of different heights together on a small wooden tray or a painted board for a clustered organizer.
This project is a lovely lesson in upcycling — yesterday’s soup can becomes tomorrow’s pencil holder. Kids can assign each can a job: one for pens, one for scissors and rulers, one for washi tape and stickers. Adding chalkboard labels or little paper tags with each can’s purpose turns organization into a game. A strip of ribbon or twine around the rim hides the metal edge and adds a soft, handmade finish.
Place the finished organizer on a homework desk or a kitchen study corner, and suddenly tidying up feels rewarding. Older kids can experiment with more advanced techniques like decoupage, stenciling, or ombre painting, while younger ones will be happy with bright paint and stickers. It is a practical craft that keeps giving all school year long.
Idea 6: Stamped Canvas Lunch Bags
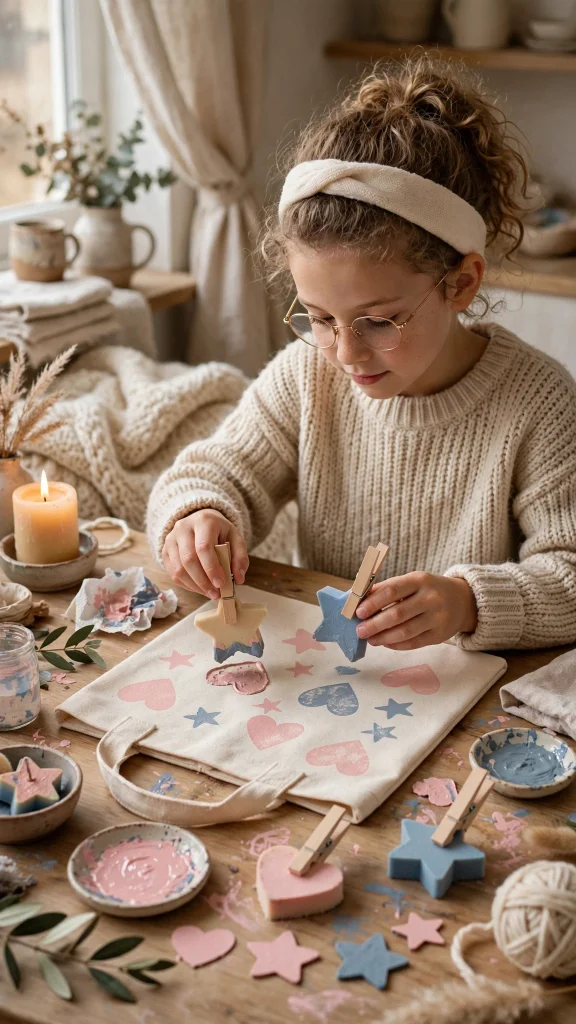
Plain canvas lunch bags become one-of-a-kind with hand-stamped designs. Using fabric paint and homemade stamps — carved from potatoes, cut from foam sheets, or simply made from bottle caps and corks — kids can print repeating patterns, their initials, or little doodles all over a blank canvas bag. Fabric paint sets with a warm iron, making the designs washable and ready for daily lunch duty.
Homemade stamps are the heart of this project. Help younger children carve simple shapes from halved potatoes: stars, hearts, circles, and stripes are all easy wins. Older kids can cut more detailed shapes from craft foam glued to a wooden block. Lay out a practice sheet of paper first so everyone can test their stamp pressure and paint coverage before committing to the bag.
Once the design is stamped and heat-set, the bag is ready for the lunchroom. Kids take pride in carrying a bag nobody else has, and it is a great conversation starter on the first day. Make a second bag as a gift for a grandparent or a teacher, or stamp matching bags for the whole family for picnic season. This craft proves that useful things can be beautiful too.
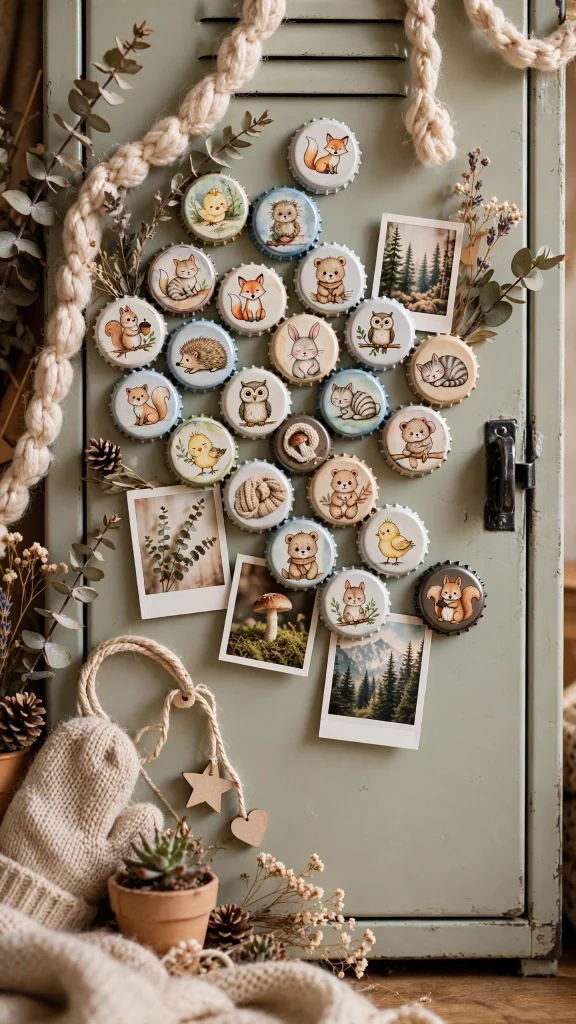
Idea 7: Bottle-Cap Locker Magnets
Bottle-cap locker magnets are tiny, addictive to make, and endlessly customizable. Collect metal bottle caps, fill each one with a small circle of patterned paper, a photo, or a miniature drawing, then glue a strong magnet to the back. A coat of clear-drying glue or resin over the top gives the image a glossy, professional look and protects it from scratches.
Kids can theme their magnets however they like: tiny photos of pets, mini versions of their own artwork, sports team colors, or motivational words for test days. Because each magnet takes only a few minutes, it is easy to build up a whole collection in one sitting. Sorting and arranging the finished magnets on the fridge becomes part of the fun, and kids love trading designs with friends.
These magnets are perfect for lockers, magnetic whiteboards, and the family fridge. Package a set of six in a little gift box tied with ribbon for a thoughtful teacher gift or a birthday present. They are also a clever way to display rotating artwork — stick a new mini masterpiece in a cap each month and swap it onto the fridge gallery.
Idea 8: First-Day Photo Frame Keepsakes
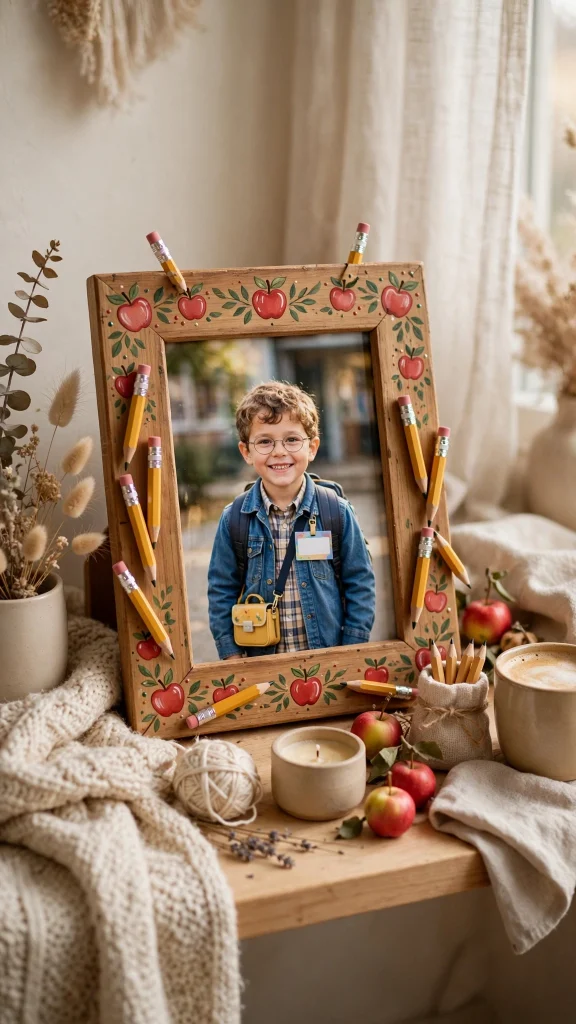
The first day of school deserves a keepsake, and a handmade photo frame turns that milestone snapshot into a treasure. Start with a simple wooden or cardboard frame and let kids decorate it with paint, glitter, buttons, or small school-themed charms like tiny pencils and apples cut from felt. Write the school year on the frame with a paint pen so the memory is dated forever.
Take the classic first-day photo holding a little chalkboard sign with the child’s grade and the date, then print it to fit the frame. Kids love being part of every step, from decorating to choosing the photo to placing it carefully inside. Over the years, a row of these frames on a shelf becomes a heartwarming timeline of growing up, each one capturing a different age and personality.
This craft also makes a beautiful gift for grandparents who live far away — tuck the framed photo into a padded envelope and send a piece of the first day through the mail. For a classroom twist, have each student decorate a frame and display them together on a bulletin board. It is a gentle, creative way to mark new beginnings and ease first-day jitters.
Idea 9: Eraser-Stamp Name Labels
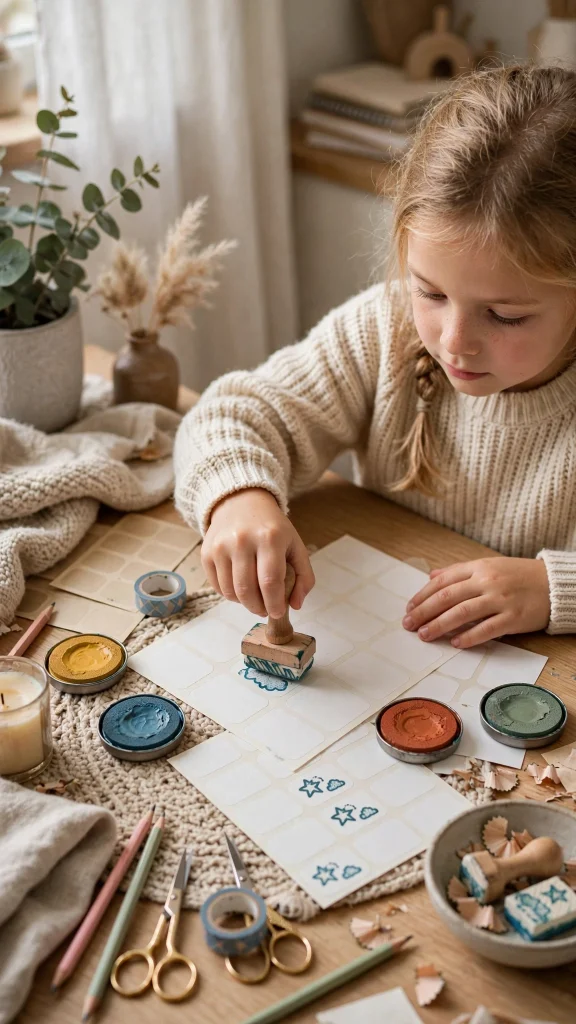
Eraser stamps are a classic kids’ craft with a practical payoff: personalized name labels for every school supply. All it takes is a chunky pencil eraser, a craft knife handled by an adult, and an ink pad. Carve a simple initial, a star, or a tiny icon into the eraser, press it onto an ink pad, and stamp away onto sticker paper, bookplates, or directly onto notebooks.
Adults should do the carving step since it requires a sharp blade, but kids can take over everything else — choosing ink colors, testing the stamp on scrap paper, and pressing their mark onto dozens of labels. The slightly imperfect, hand-stamped look is exactly what makes these labels special. Stamp onto white address labels for a clean finish, or onto kraft paper tags for a rustic feel.
Use the labels on lunchboxes, water bottles, folders, and library books so nothing gets lost in the classroom shuffle. Kids can even stamp their mark inside jacket collars or on the back of a calculator. Make a few extra stamps with fun shapes — a lightning bolt, a flower, a smiley face — and suddenly labeling supplies becomes the most fun chore of back-to-school prep.
Idea 10: Cereal-Box Homework Caddies
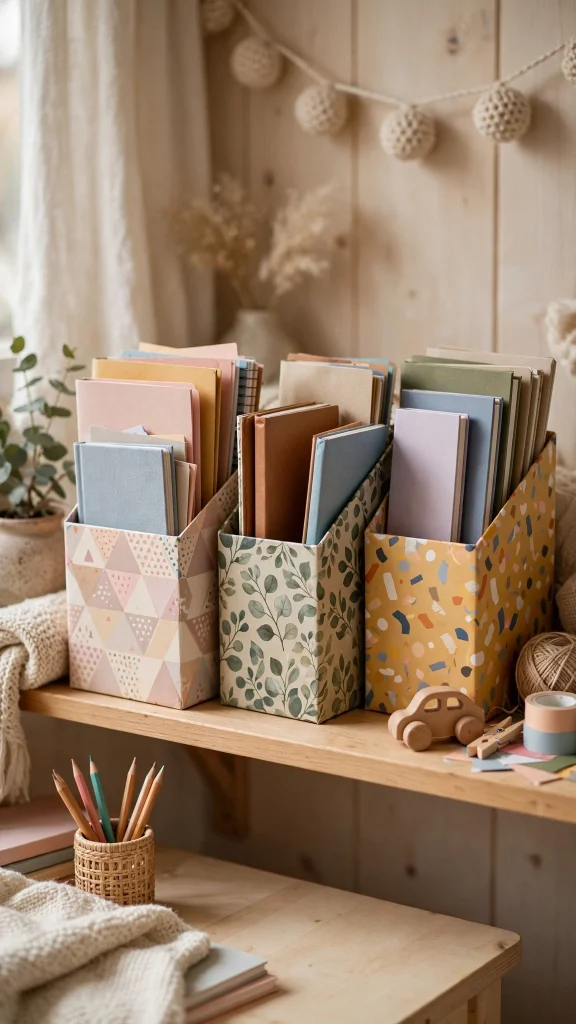
Empty cereal boxes are secretly perfect homework caddies — tall, sturdy, and just waiting for a crafty makeover. Cut the top of the box at a diagonal to create a magazine-holder shape, then reinforce the edges with tape. Kids can cover the box in wrapping paper, paint it, or collage it with cutouts from old magazines for a personalized homework station that costs nothing.
This project shines because it solves a real problem: papers, workbooks, and folders scattered everywhere. A decorated cereal-box caddy keeps everything for one subject — or one child — in a single grab-and-go container. Let kids add dividers made from smaller cardboard pieces, label each section with washi tape flags, and decorate the outside to match their desk or bedroom.
Line up several caddies on a shelf and you have an instant homework command center. For a sturdier version, double up the cardboard or wrap the whole box in duct tape before decorating. It is a satisfying reminder that the best organizers do not have to come from a store — sometimes they come from the recycling bin and an afternoon of creativity.
Final Thoughts
Back-to-school crafting is about so much more than the finished projects. It is the quiet concentration of a child choosing felt colors, the pride in a wobbly stamped lunch bag, the excitement of spotting a handmade backpack tag in a crowded hallway. These small handmade touches give kids a sense of ownership over the school year ahead and turn ordinary supplies into personal treasures they will actually want to use.
So gather your supplies, pick a project or two, and make something together before the first bell rings. Whether you start with a simple no-sew pouch or dive into a full desk organizer makeover, the time spent creating side by side is the real keepsake. Happy crafting, and here is to a school year full of creativity, confidence, and handmade joy.