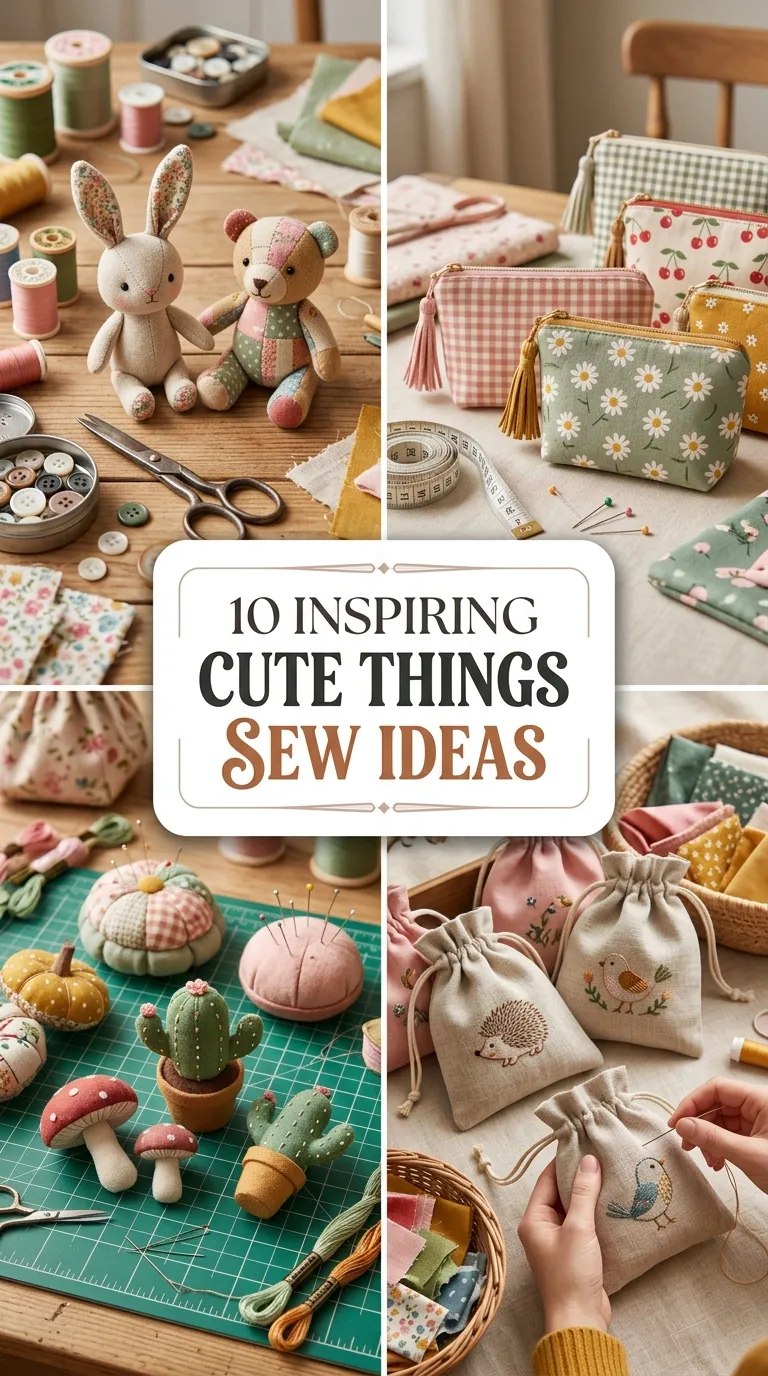
10 Inspiring Cute Things Sew Ideas
There is a special kind of happiness that only comes from making something cute with your own two hands. A sewing machine humming along, a pile of cheerful fabric scraps, and an afternoon with nothing urgent on the calendar — that combination can turn the most ordinary day into something genuinely delightful. Sewing cute things is not about perfection or complicated patterns; it is about the joy of watching flat fabric transform into something soft, charming, and entirely yours.
The projects in this guide are chosen for maximum cuteness with minimum stress. Every idea uses simple straight seams, beginner-friendly techniques, and materials you probably already have in your stash. Whether you are brand new to sewing or returning to the machine after years away, these ten ideas will rebuild your confidence one adorable finished project at a time.
Each project below includes what makes it special, the basic approach to sew it, and little finishing touches that take it from homemade to heart-melting. Grab your favorite fabrics — florals, ginghams, soft solids — thread your machine, and let us sew ten of the cutest things you have ever made.
Idea 1: Scrunchies in Every Print
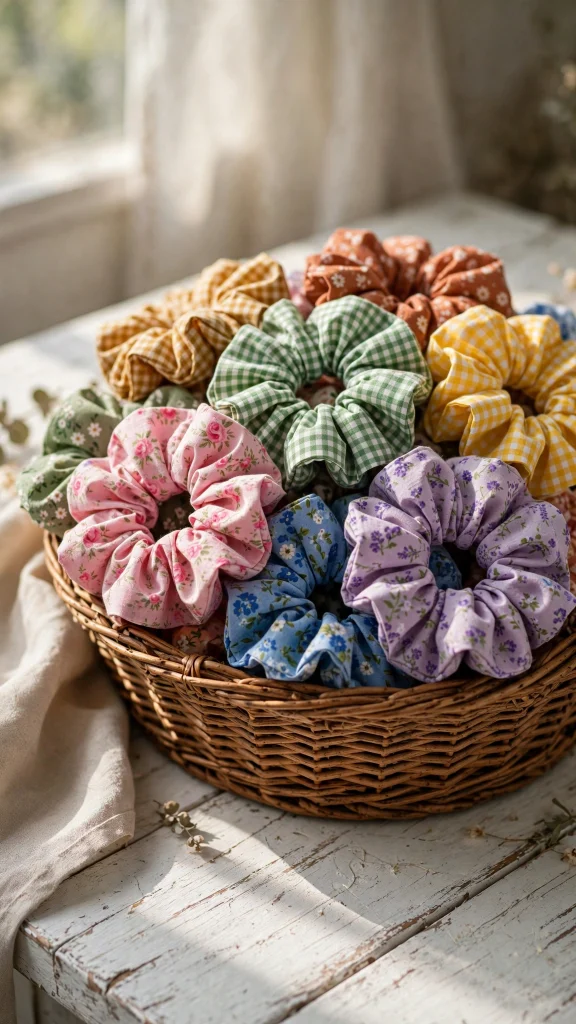
Scrunchies are the perfect first cute sewing project because they are fast, forgiving, and endlessly giftable. One fat quarter of fabric makes several scrunchies, which means you can sew a whole rainbow in a single sitting. They are also brilliant for using up those small pretty scraps that are too lovely to throw away but too small for bigger projects.
To sew a scrunchie, cut a rectangle of fabric about twenty-two inches long and four inches wide, fold it right sides together along the long edge, and stitch the long seam with a straight stitch. Turn the tube right side out, thread a piece of elastic about eight inches long through it with a safety pin, knot or stitch the elastic ends together, then tuck one short fabric end inside the other and topstitch closed. The whole thing takes about ten minutes once you find your rhythm.
The cute factor comes from fabric choice. Try Liberty-style florals, tiny polka dots, soft velvet for winter, or satin for an evening look. Make matching sets of three and tie them with a ribbon for instant gifts. Scrunchies also sell beautifully at craft fairs, so sew a basketful and watch them disappear.
Try adding a small bow by sewing a narrow fabric strip into the seam before closing it, or layer a solid with a print for a sweet reversible look.
Idea 2: Drawstring Gift Bags
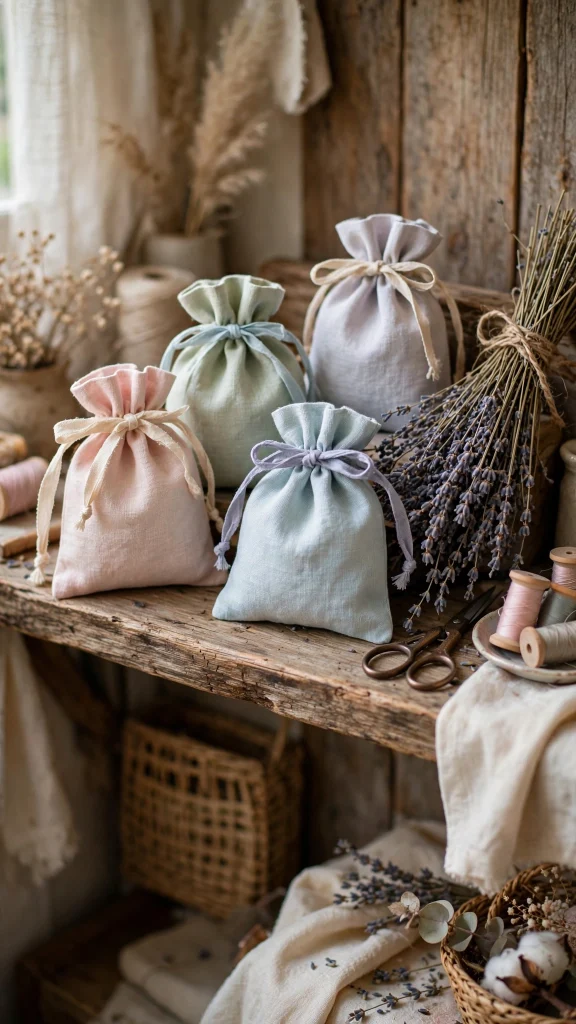
Drawstring gift bags turn every present into something extra special, and they are one of the most useful cute things you can sew. Once you make a stack of them in different sizes, you will never buy wrapping paper again. They are washable, reusable, and they make even a small gift feel thoughtful and complete.
Sewing a drawstring bag is wonderfully simple. Cut two rectangles of fabric, place them right sides together, and stitch around three sides, leaving the top open. Fold the top edge down twice to create a casing, stitch it, leaving a small gap, then thread ribbon or cord through the casing with a safety pin. Pull the strings and the bag cinches shut with the sweetest gathered top.
Make them in seasonal prints for holidays, elegant linen for weddings, or bright cotton for birthdays. Add a hand-stamped tag or a sprig of dried lavender tucked into the ribbon for a finishing touch. A set of five nested bags in coordinating fabrics makes a lovely gift all by itself.
For an extra-polished finish, press all your seams before stitching and use a contrasting ribbon for the drawstring. These bags also work beautifully as reusable produce bags, toiletry pouches, or Advent calendar pockets when sewn in graduated sizes.
Idea 3: Simple Tote Bags
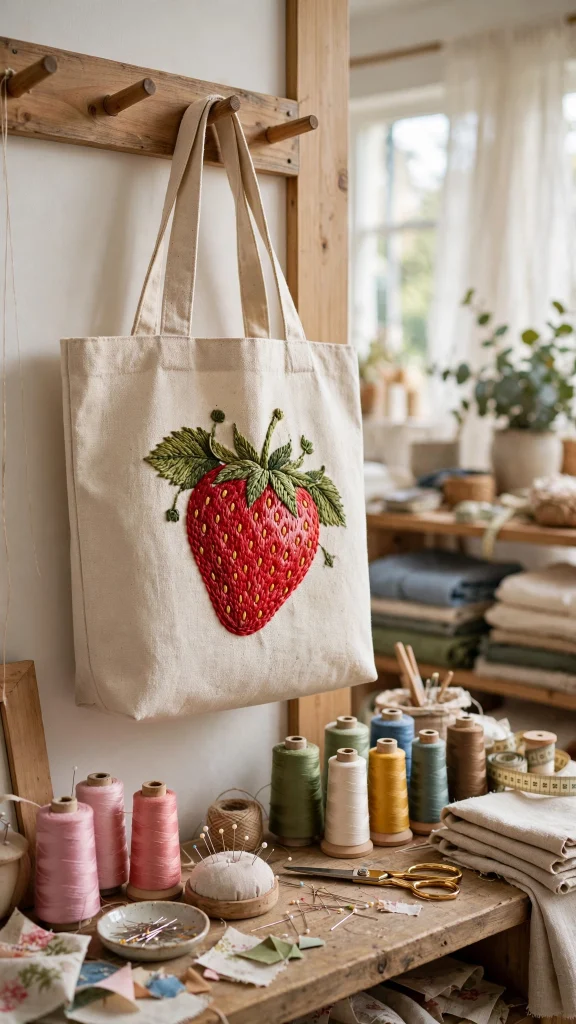
A handmade tote bag is both cute and genuinely useful, which is why it remains one of the most-sewn projects of all time. A simple tote takes less than an hour, uses about a yard of fabric, and replaces countless plastic bags. Sew one for groceries, one for the library, one for craft supplies — you will find a use for every single one.
Cut two large rectangles for the body and two long strips for handles. Stitch the body pieces right sides together on three sides, box the bottom corners for a flat base, and attach the handles with reinforced box stitching. For extra cuteness, add a front pocket, line the bag with a contrasting print, or appliqué a simple shape like a heart or a cat face on the front.
Totes are wonderful canvases for personality. Try canvas with a hand-painted design, ticking stripe for farmhouse charm, or a bold floral that makes you smile every time you carry it. Make a matching mini tote for a child and you have an adorable mother-daughter gift set.
To make your tote extra sturdy, sew a second row of stitching along the handles and consider adding fusible interfacing to the body fabric. A magnetic snap closure at the top keeps contents secure, and an interior zip pocket turns a simple tote into an everyday carryall.
Idea 4: Felt Plush Animals
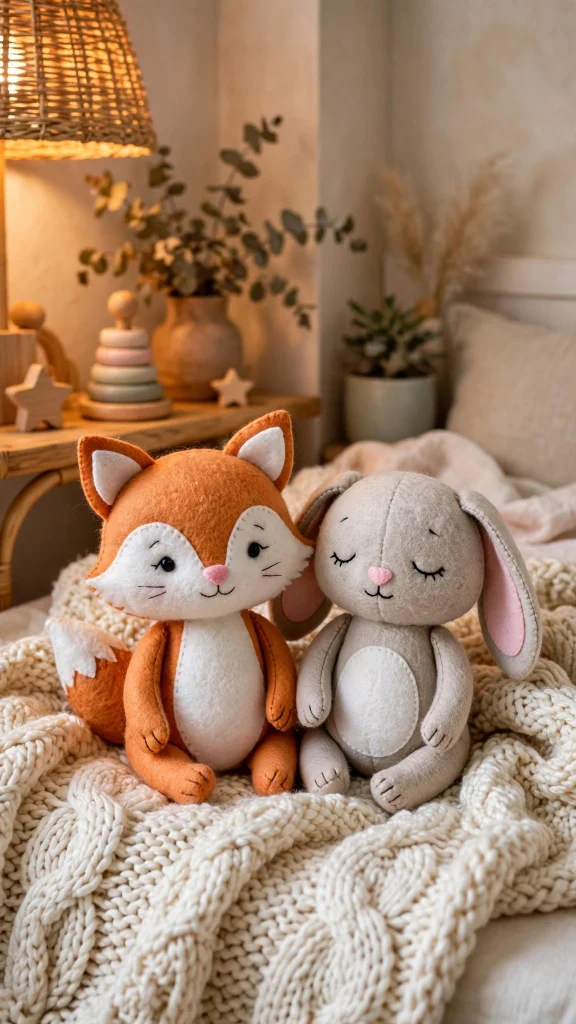
Felt plush animals are irresistibly cute and wonderfully simple to sew, making them ideal for beginners and for crafting with older kids. Felt does not fray, so there is no hemming, no turning tiny seams, and no frustration — just cut, stitch, and stuff. A little felt bunny or bear can be finished in under an hour.
Draw a simple animal shape on paper, cut two felt pieces, and stitch around the edge with a blanket stitch or a straight machine stitch, leaving a gap for stuffing. Fill with polyester fiberfill, stitch the gap closed, then add the face with embroidered eyes, a stitched nose, and blush cheeks made with a dab of pink fabric paint or actual blush. The hand-stitched details are what give felt plushies their handmade charm.
Make a whole woodland family — foxes, owls, rabbits, bears — in coordinating felt colors for a nursery mobile or a shelf display. These little animals make sweet gifts for new babies, and they are light enough to mail in a regular envelope. Sew a dozen and you have party favors handled.
Experiment with different faces to give each plush its own personality — sleepy embroidered eyes, a tiny stitched smile, or rosy cheeks. You can also tuck a gentle lavender sachet inside before closing for a sweet-smelling gift that doubles as a drawer freshener.
Idea 5: Envelope Pillowcases
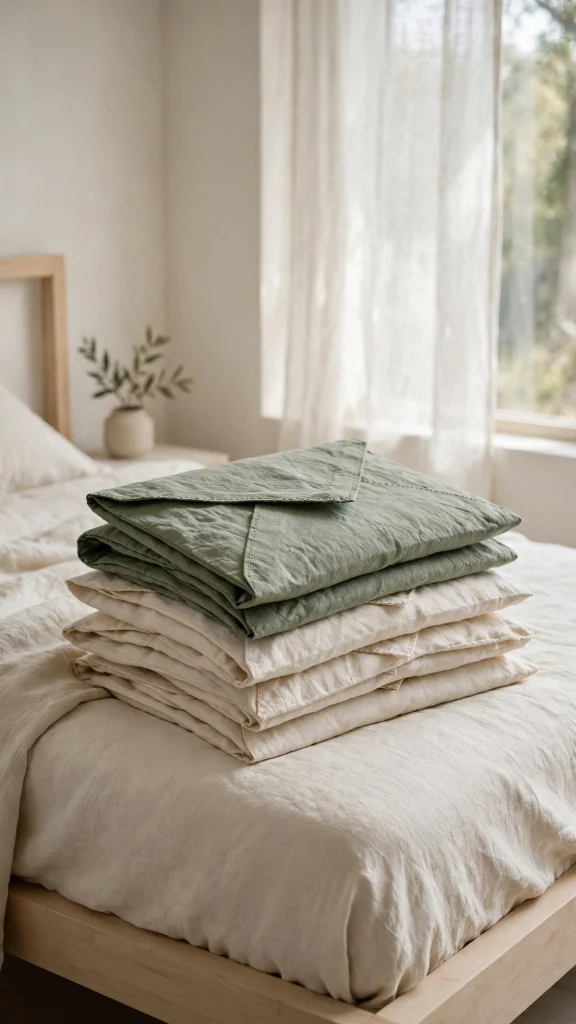
Envelope pillowcases are the cutest quick home-sewing win because they look store-bought but sew up in about fifteen minutes. The envelope back means no zippers, no buttons, and no fuss — just three rectangles of fabric and straight seams. They are the perfect way to refresh a bedroom for a new season without buying anything new.
Measure your pillow form, cut one front piece and two overlapping back pieces, hem the overlapping edges, then layer everything right sides together and stitch around all four sides. Turn it right side out and the envelope closure holds the pillow snugly inside. The whole project is four straight seams, which makes it ideal for practicing neat, even stitching.
Choose fabrics that make you happy every morning: soft florals, cozy flannel for winter, crisp stripes for summer. Sew seasonal sets and swap them through the year — pumpkin prints for fall, snowy patterns for winter, fresh botanicals for spring. A pair of handmade pillowcases tied with ribbon makes a thoughtful housewarming gift too.
For a designer touch, add piping around the front panel or use a bold contrasting fabric for the envelope back that peeks out playfully. Flange edges — an extra flat border around the pillowcase — also give a boutique-hotel look with just one more seam.
Idea 6: Fabric Bookmarks
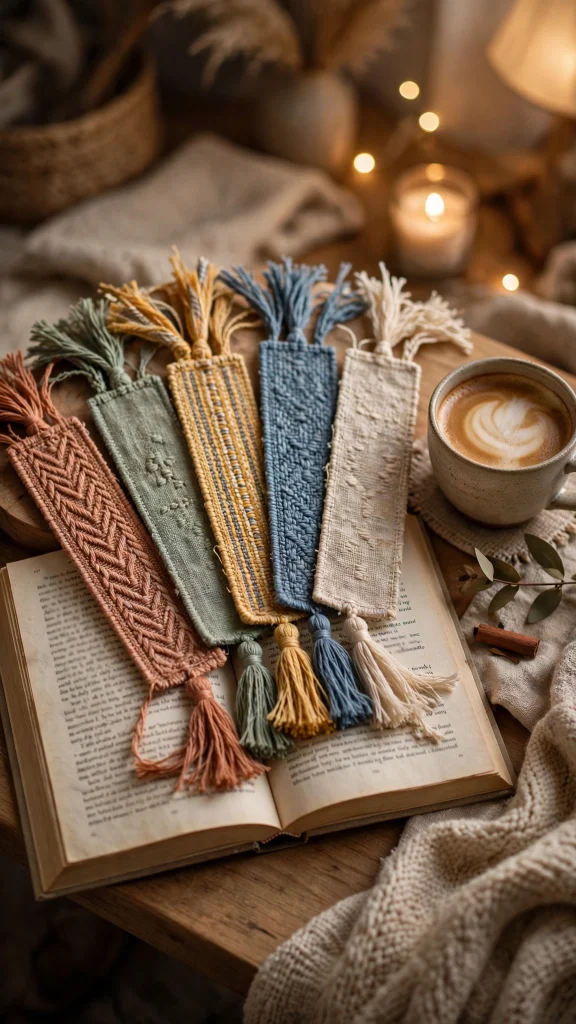
Fabric bookmarks are tiny, fast, and endlessly cute — the ideal scrap-buster for those precious leftover strips. A bookmark takes about ten minutes to sew, uses almost no fabric, and makes a gift that book lovers genuinely use every single day. Make a stack of them and you will always have a little gift ready.
Cut a strip of fabric about two inches wide and eight inches long, fold it in half lengthwise right sides together, stitch around three sides leaving one short end open, turn it right side out, and topstitch all the way around for a crisp finish. Add interfacing inside for stiffness, and finish the top with a ribbon tassel or a cute button for personality.
Try quilted patchwork bookmarks from tiny squares, embroidered monograms for personal gifts, or holiday prints for stocking stuffers. Corner bookmarks — little triangles that hug the page corner — are another adorable variation worth trying. Bundle five bookmarks with a new book for the perfect reader gift.
Laminate one side of your bookmark with clear vinyl to protect it from everyday wear, or press a tiny dried flower between two layers of fabric for a botanical keepsake. Tassels made from embroidery floss in matching colors add a lovely handmade finishing touch.
Idea 7: Knotted Headbands
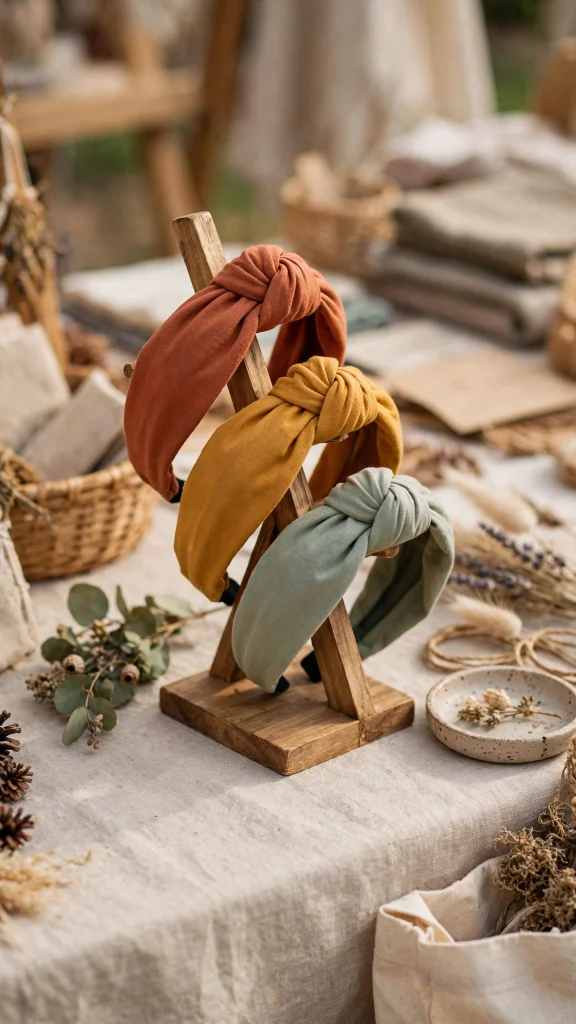
Knotted headbands are having a major moment, and sewing your own means a perfect fit in any fabric you love. They are comfortable, stylish, and much cuter than store-bought versions because you control every detail — the width, the knot size, the exact print. They also make fantastic gifts for teens and friends.
Cut a long strip of stretch knit fabric, fold it lengthwise, stitch the long edge, and turn it right side out. Tie a knot in the center, then join the ends into a loop sized to your head and stitch them together, hiding the seam at the back. The knot sits at the top like a little bow, giving that sweet retro look everyone loves.
Sew them in velvet for winter elegance, floral cotton for spring, or bold prints for statement style. Make a matching set for yourself and a friend, or sew a dozen in school colors for a team gift. Once you nail the sizing, you can finish one in about twenty minutes.
For a no-slip fit, sew a thin strip of velvet ribbon along the inside of the band — it grips hair gently without pulling. Wider bands give a retro turban feel while narrower ones look modern and minimal, so try both widths to find your favorite.
Idea 8: Mug Rugs
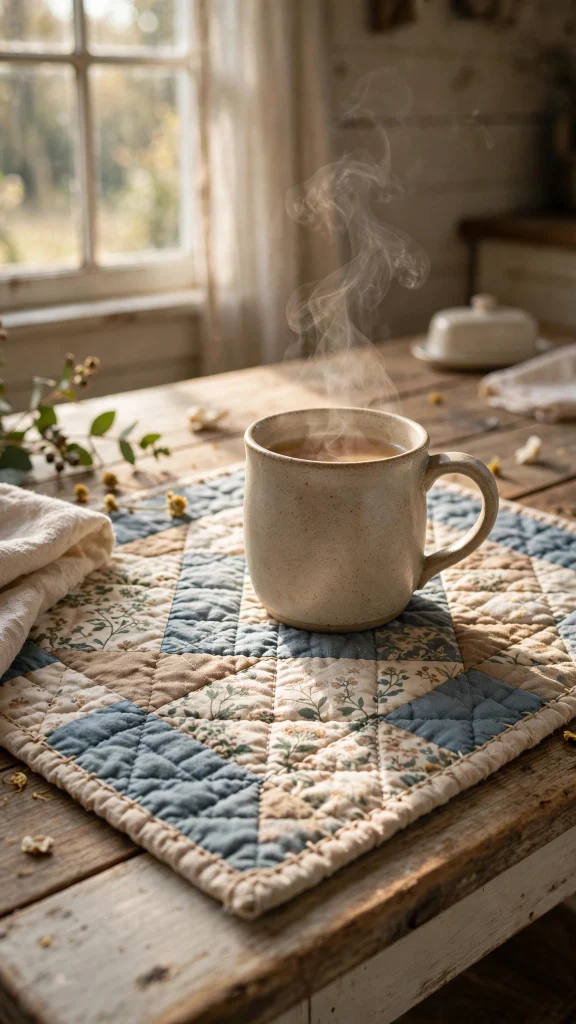
Mug rugs — oversized coasters with room for a cookie — are peak cute sewing. They are small enough to finish in one sitting, useful every single day, and they let you play with quilting techniques on a tiny, low-pressure scale. Every quilter started with something mug-rug sized, and many never stopped loving them.
Cut two squares of fabric and one of batting, layer them like a tiny quilt sandwich, and quilt simple lines or a cute motif through all layers. Bind the edges with bias tape or fold the backing over for a quick finish. Add a little appliqué heart, a monogram, or a tiny embroidered flower in the corner for extra charm.
Make seasonal sets — pumpkins for fall, snowflakes for winter, flowers for spring — and swap them through the year. A mug rug paired with a pretty mug and a packet of cocoa makes a sweet, inexpensive gift. They are also perfect for practicing free-motion quilting without committing to a full quilt.
Try the quilt-as-you-go method to use up even the tiniest scraps, joining small pieces directly onto the batting. Adding a hanging sleeve on the back turns your mug rug into mini wall art, doubling its decorative life beyond the coffee table.
Idea 9: Zipper Pouches
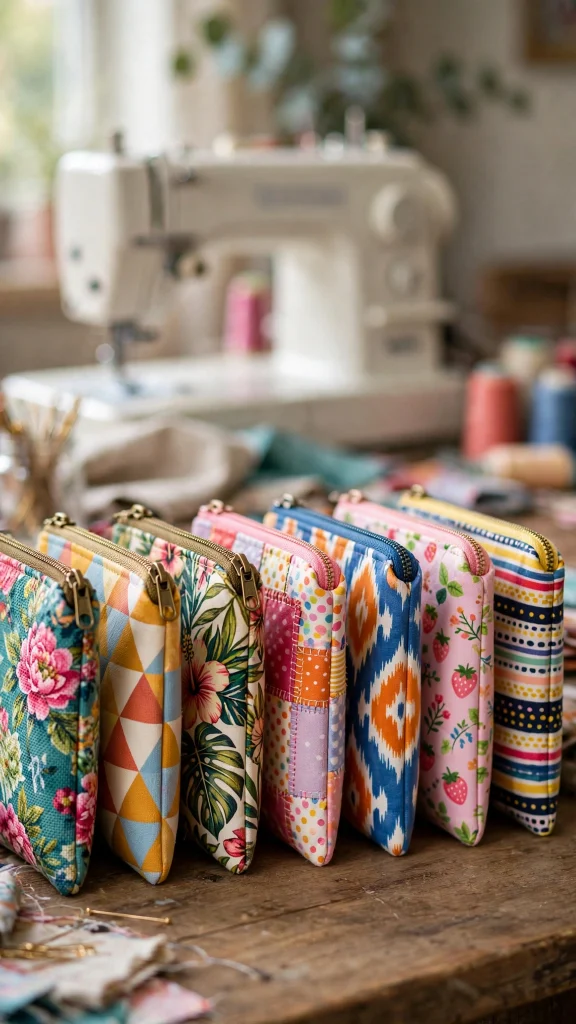
Zipper pouches look impressive but are secretly simple, and sewing your first successful zipper feels like a genuine achievement. These cute little pouches organize everything — makeup, pencils, sewing notions, charging cables — and they make people think you are a far more advanced sewist than you are.
Cut two fabric rectangles and two lining rectangles, sandwich the zipper between the outer and lining pieces along the top edge, and stitch with a zipper foot. Repeat for the other side, then open the zipper halfway, stitch around the remaining three sides, box the corners, and turn everything right side out through the open zipper. It sounds complicated but takes about thirty minutes once you try it.
Add a wrist strap, a cute label, or contrasting lining for a designer feel. Make them in laminated cotton for wipeable makeup bags, or quilted fabric for extra squish. A set of three graduated pouches in coordinating prints is a gift anyone would love to receive.
Once you master the basic pouch, try adding exterior slip pockets or a key fob tab inside. Clear vinyl fronts turn the same pattern into a see-through notions pouch, perfect for quickly spotting the exact thread color or zipper pull you need.
Idea 10: Fabric Hoop Art
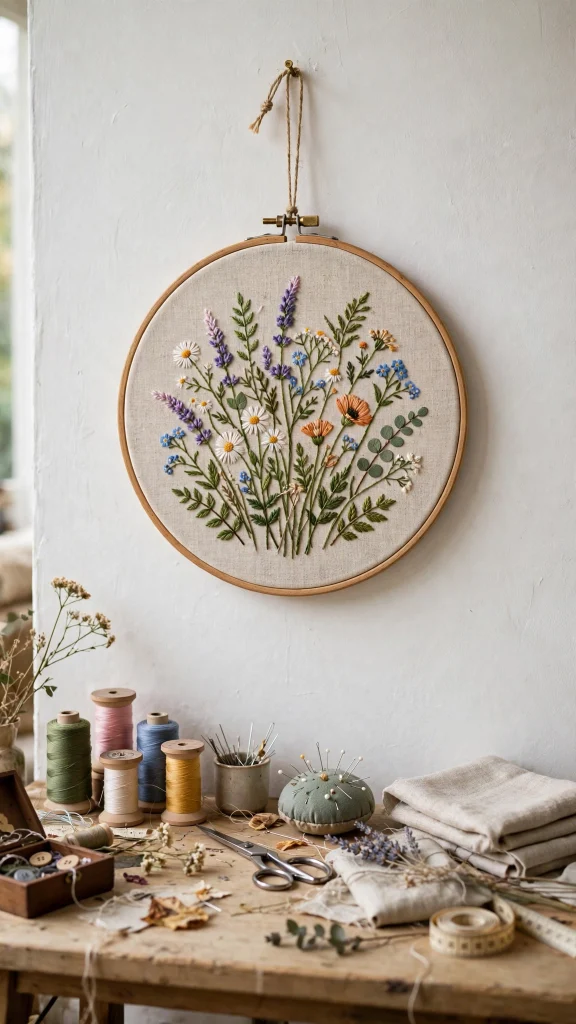
Fabric hoop art turns your prettiest fabric scraps into instant wall decor — no artistic skill required. An embroidery hoop, a square of beloved fabric, and ten minutes is all it takes to make wall art that looks intentional and charming. Group several hoops together for a gallery wall with real handmade warmth.
Simply center your fabric in the hoop, pull it taut, trim the excess, and secure the back with a running stitch or a dab of glue. For extra cuteness, add simple embroidery — a heart, your initial, a tiny flower — or layer felt shapes on top of the fabric before hooping. The hoop frame itself becomes part of the art, so try painting wooden hoops in colors that match your room.
Create a set of three hoops in coordinating prints for above a dresser, or one large statement hoop for a hallway. Seasonal hoop art — autumn leaves, winter snowflakes, spring blooms — is an easy way to refresh your decor. These also make lovely handmade gifts, especially for fellow fabric lovers who will appreciate the print you chose.
For extra dimension, stuff small felt shapes lightly before stitching them onto the background fabric. You can also paint simple designs directly onto plain linen with fabric paint, then hoop it — instant custom art that matches your exact color scheme.
Final Thoughts
The cutest things to sew are the ones made with love and finished with pride, no matter how simple the pattern. Every scrunchie, pouch, and plush in this guide proves that adorable does not require advanced skills — just a sewing machine, some pretty fabric, and the willingness to try.
Start with the project that made you smile first and enjoy that unbeatable feeling of holding something cute that did not exist this morning. Then sew another, because cute things multiply quickly. Happy sewing!