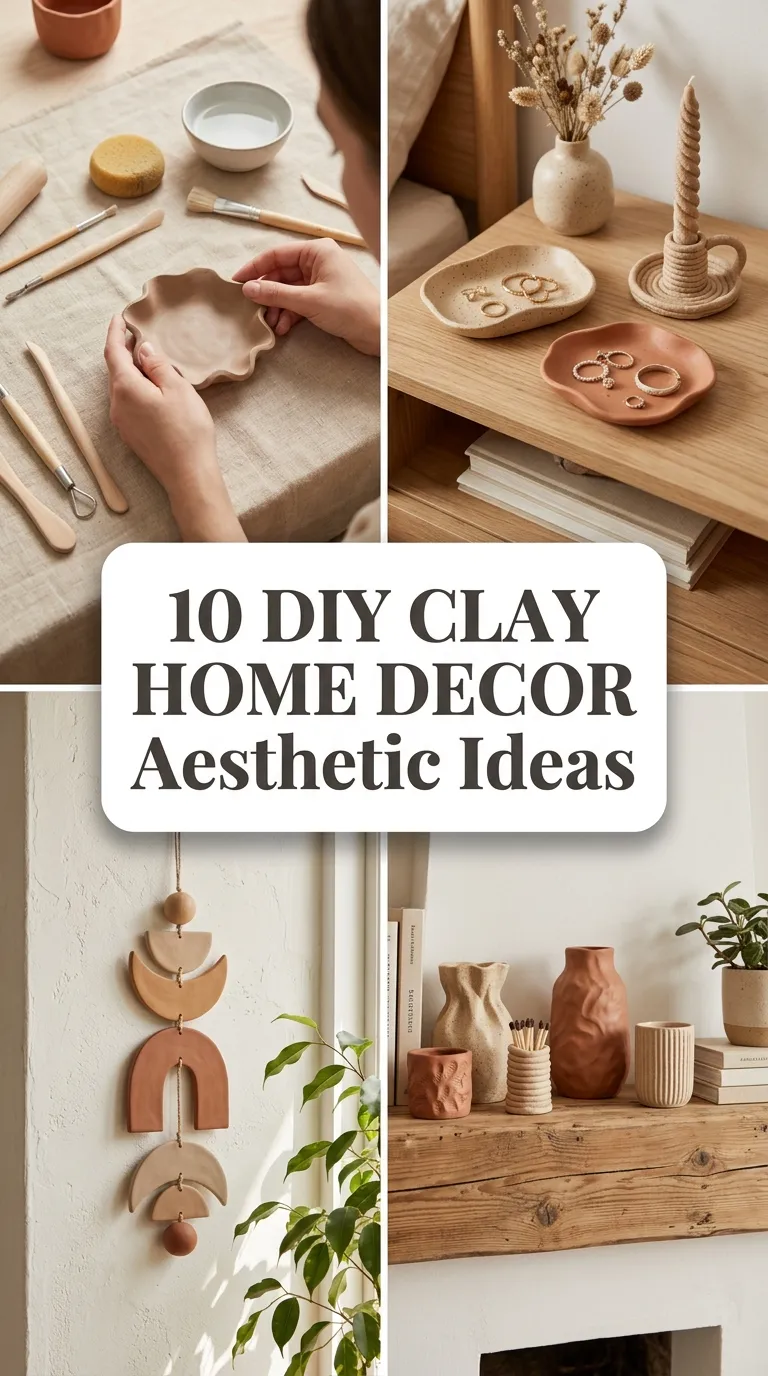
10 DIY Clay Home Decor Aesthetic Ideas
If your Pinterest feed is full of soft neutrals, handmade textures, and cozy corners that look effortlessly calm, clay is probably the missing piece. Air-dry and oven-bake clays turn ordinary afternoons into slow, creative rituals, and the finished pieces have that imperfect, artisan quality Pinterest loves. These ideas fit beautifully into a Scandinavian hygge home, where warmth comes from touch, texture, and the quiet pride of making something yourself.
Clay decor also photographs beautifully, which makes it perfect for anyone building a dreamy home aesthetic online or off. Think matte surfaces, gentle curves, botanical details, and earthy tones that play nicely with linen, wood, dried flowers, and candlelight. You do not need a kiln or years of pottery experience; most of these projects use beginner-friendly materials and simple shaping techniques.
In this listicle, I am sharing ten distinct DIY clay projects, each with styling inspiration and beginner-friendly tips. Readers will learn how to shape, dry, finish, and style ten simple clay pieces that bring soft hygge warmth into every room.
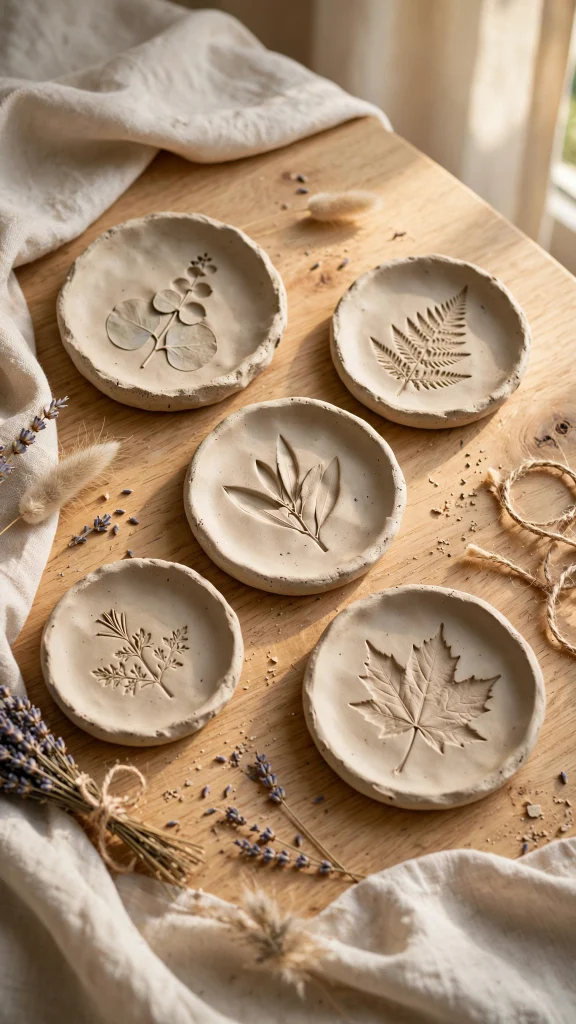
Idea 1: Air-Dry Clay Trinket Dishes with Botanical Imprints
There is something deeply satisfying about pressing real leaves, ferns, or wildflowers into soft clay and watching nature leave its signature. These trinket dishes are one of the easiest ways to begin, and they instantly add an organic, collected feel to nightstands, entryway tables, and vanities. The botanical imprint gives each dish a delicate pattern that looks far more intricate than the effort required.
Start by rolling air-dry clay to an even thickness, then gently press your chosen botanical flat into the surface. A rolling pin helps transfer the veining without tearing the clay. Carefully lift the leaf away, cut the dish into a circle or organic freeform shape, and press the edges upward over a small bowl to create a shallow curve. Let it dry fully according to the package directions before sealing.
Once dry, a thin coat of matte sealant protects the surface while keeping that soft, chalky look. Style your finished dishes with rings, hairpins, dried lavender, or small candles. They also make thoughtful handmade gifts because no two botanical prints are ever exactly alike.
For a cohesive hygge vignette, group two or three dishes in slightly different sizes and pair them with a linen runner and a small bud vase. The neutral clay tones recede beautifully, letting the botanical details take center stage.
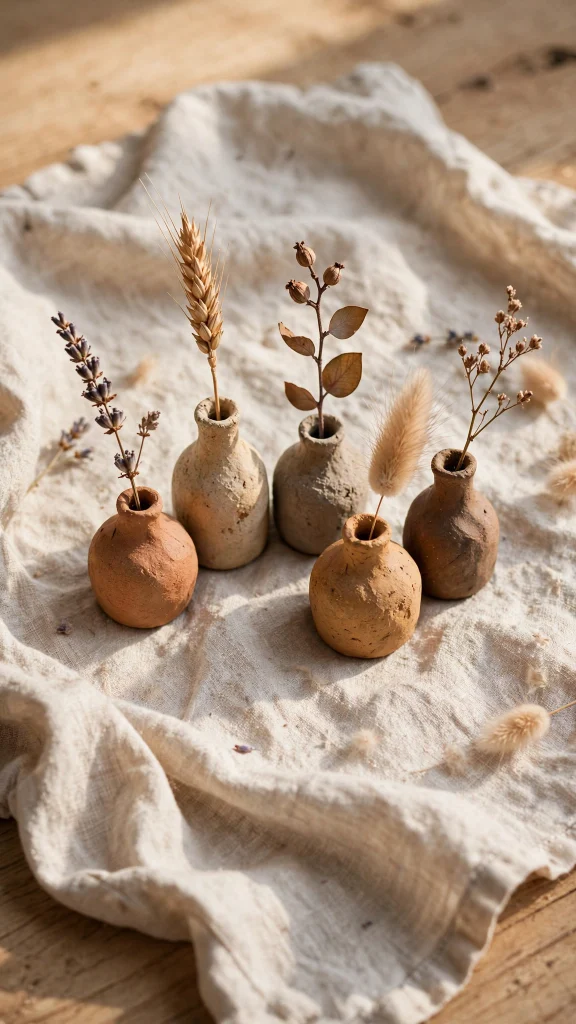
Idea 2: Hand-Built Clay Bud Vases
Bud vases are proof that small decor can have an outsized impact. A cluster of handmade clay bud vases on a shelf or windowsill brings sculptural interest and gives you an excuse to display single stems, dried grasses, or foraged branches. Their compact size also makes them ideal starter projects for hand-building techniques.
You can form these vases using the pinch-pot method, coiling, or by shaping clay around a small bottle as a mold. Aim for gentle, slightly irregular silhouettes rather than perfect symmetry; those subtle wobbles are what make handmade pottery feel warm and personal. A slightly narrower neck also helps single stems stand upright and keeps arrangements looking effortlessly balanced. Smooth the surface with damp fingers, then let the vase dry slowly to prevent cracking.
If you are using air-dry clay, remember that most varieties are not fully waterproof. Insert a small glass or plastic tube inside the vase to hold water for fresh stems, or simply use dried botanicals for a maintenance-free arrangement. A matte white, cream, or oatmeal finish keeps the look Scandinavian and serene.
Style bud vases in odd-numbered groupings, varying height and shape for a collected, gallery-like effect. Place them where natural light can catch their curves, such as a kitchen windowsill, bathroom shelf, or bedside table. Even one stem in a handmade vase can make an ordinary shelf feel styled and intentional.
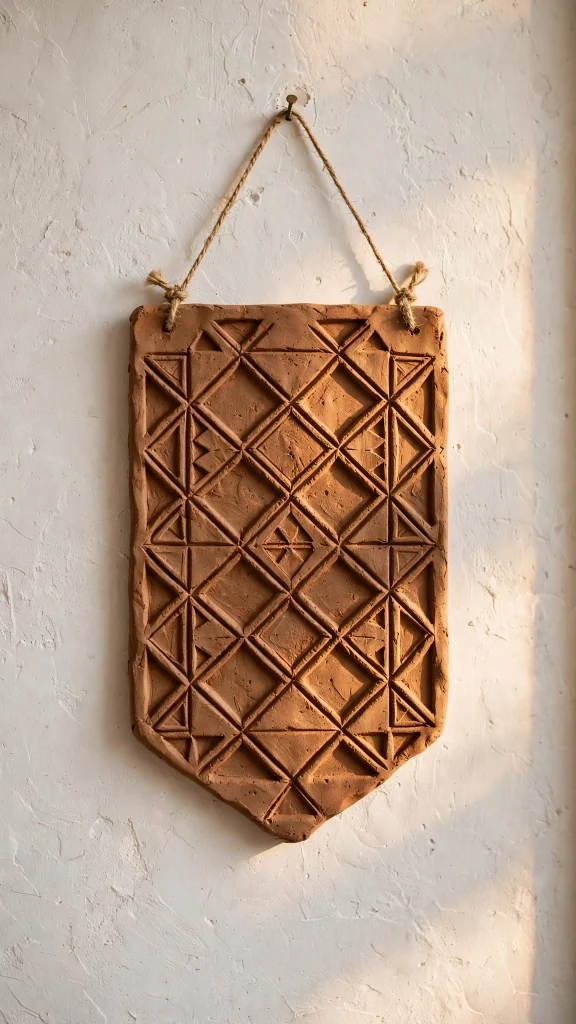
Idea 3: Textured Clay Wall Hangings
Walls are often the last place people think to add handmade clay, but textured wall hangings can completely change the mood of a room. These pieces bring depth, shadow, and tactility to blank walls, making them feel curated rather than empty. They work especially well in reading nooks, above consoles, or as part of a soft neutral gallery wall.
Begin with a flat clay slab, then build texture using stamps, lace, combs, carved wooden tools, or even the edge of a fork. Arches, sun shapes, abstract faces, and organic blobs are all popular Pinterest-friendly forms. You can leave pieces raw for a plaster-like effect or paint them in warm white, clay beige, or muted sage.
Attach hanging hardware while the clay is still soft, or drill a small hole after drying for twine, leather cord, or brass wire. Because these hangings are lightweight when made thin, they are easy to hang with simple nails or adhesive hooks. A single large piece makes a calm statement, while a trio of small shapes feels playful and modern.
For styling, keep the surrounding wall simple so the texture can shine. Pair clay hangings with a woven textile, a small wooden shelf, or dried florals in a nearby vase for a layered hygge look.
Idea 4: Clay Candle Holders with Cutout Patterns
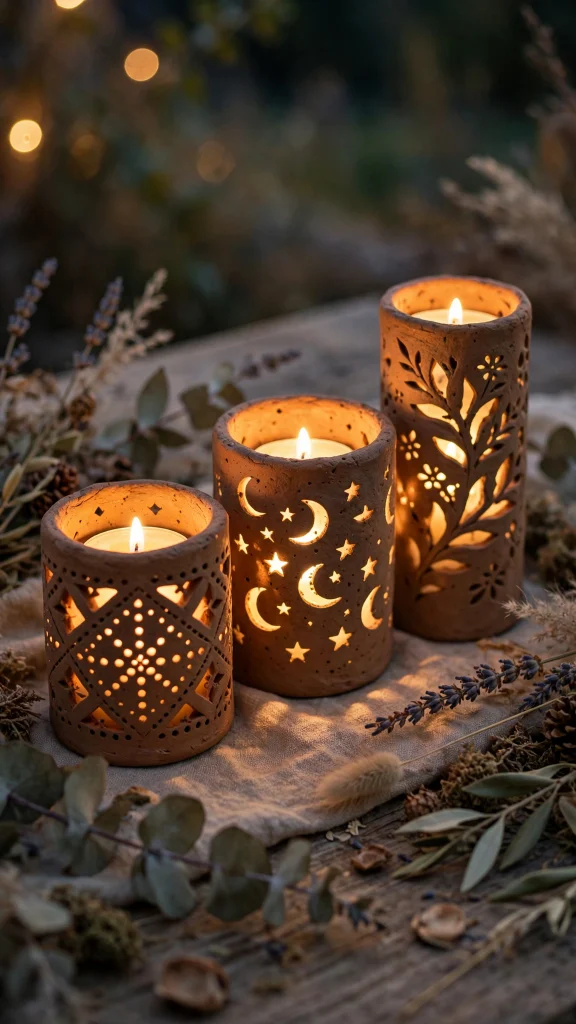
Candlelight is the heart of hygge, and handmade clay candle holders make that glow feel even more intentional. Cutout patterns turn simple holders into tiny lanterns, casting patterned shadows across walls and tables. They are perfect for long evenings, cozy dinners, and quiet moments with tea. The soft glow feels especially magical in darker months, when warm light becomes part of the decor itself.
Roll clay into a cylinder, tapered cup, or house-shaped holder, leaving room for a tealight or LED candle. While the clay is still soft, use small cookie cutters, straws, or craft knives to cut stars, moons, dots, or simple geometric patterns. Smooth the cut edges with a damp fingertip so the light shines cleanly through each opening.
Drying evenly is especially important for hollow forms, so let the holder dry slowly away from direct heat. Once sealed, always use LED candles if your clay is not rated heat-safe, and never leave real flames unattended. The cutout design looks beautiful even unlit, adding sculptural detail to shelves by day.
Style these holders along a mantel, dining table runner, or bathroom tray for spa-like calm. Mixing heights and pattern densities creates a warm, flickering tablescape that feels straight out of a Pinterest hygge board.
Idea 5: Speckled Clay Planters
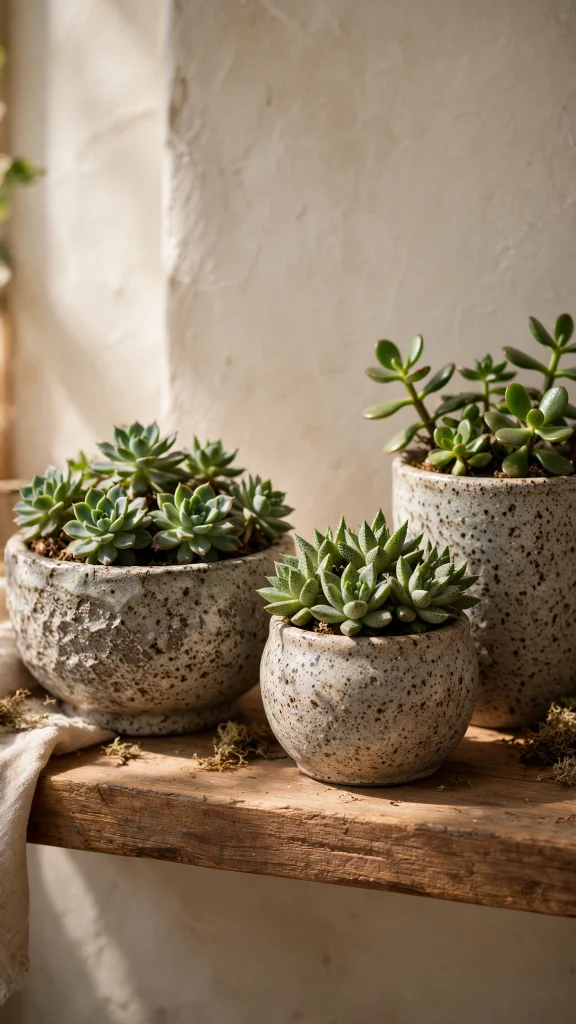
Speckled planters are a dream pairing of earthy craft and fresh greenery. The tiny flecks mimic natural stoneware, giving even beginner pieces a high-end, artisan pottery look. They are ideal for herbs, succulents, trailing pothos, and small indoor plants that thrive in bright, cozy corners.
To create the speckled effect, knead fine dark grog, ground coffee, or cosmetic-grade mica speckles into light-colored clay before shaping. Alternatively, paint tiny dots onto the dried surface with a fine brush for more control. Keep the planter shape simple—tapered cylinders and soft rounded pots let the speckle pattern be the star. If you prefer a subtler look, use fewer speckles and a lighter touch for a soft, sandy finish.
Make sure to plan for drainage if you are potting live plants directly. You can drill a drainage hole after drying, use a plastic nursery pot inside the clay planter, or reserve the piece as a cachepot. A clear matte sealant helps protect the surface from moisture while preserving the natural texture.
Group speckled planters in different sizes on a plant stand, windowsill, or open shelf. Their neutral tones complement both leafy greens and dried botanicals, making them versatile year-round decor. They also look beautiful holding dried stems when you want greenery without the watering routine.
Idea 6: Marbled Clay Coasters
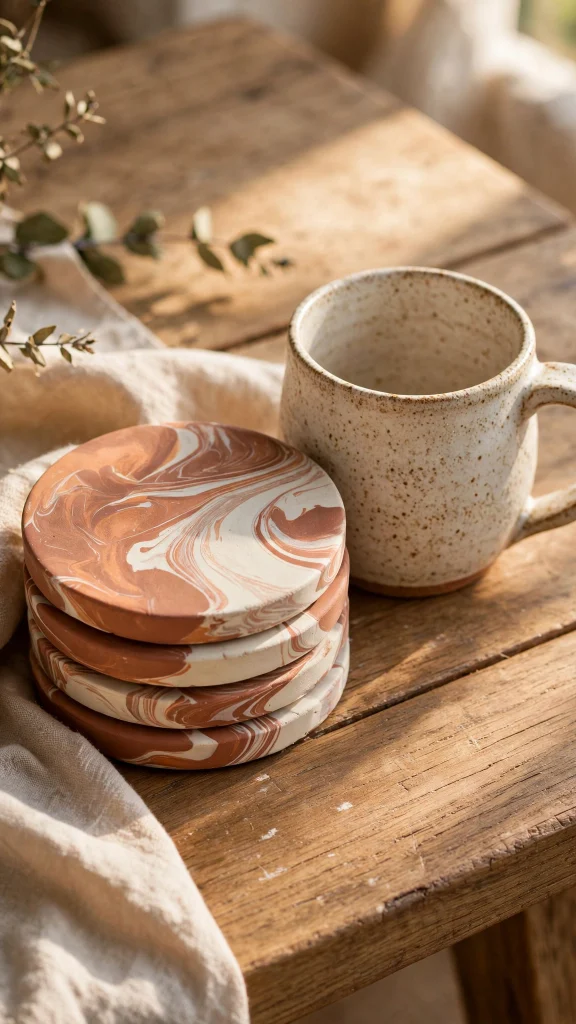
Marbled coasters are equal parts practical and pretty, protecting surfaces while adding a soft artistic touch to coffee tables. The swirling patterns feel luxurious yet handmade, and every set is completely one of a kind. They are also wonderful beginner gifts because the marbling process is forgiving and fun.
Choose two or three complementary clay colors, such as white and terracotta, cream and gray, or blush and sand. Roll them into ropes, twist gently, then roll flat to reveal marbled veining. Cut clean circles, hexagons, or organic shapes, smooth the edges, and dry flat under a light book or tile to prevent warping. Trim any rough edges with a craft knife while the clay is leather-hard for the cleanest possible shape.
Once dry, sand the edges lightly for a refined finish and seal with a water-resistant matte or satin topcoat. Felt pads on the bottom protect furniture and give the coasters a polished, store-bought feel. A set of four tied with twine makes a charming handmade gift.
Style marbled coasters stacked on a coffee-table book, beside a favorite mug, or arranged on a tray with a small candle. Their soft patterns add visual interest without overwhelming a calm, neutral room. They also layer nicely with woven placemats, wooden trays, and soft candlelight for an inviting coffee-table scene.
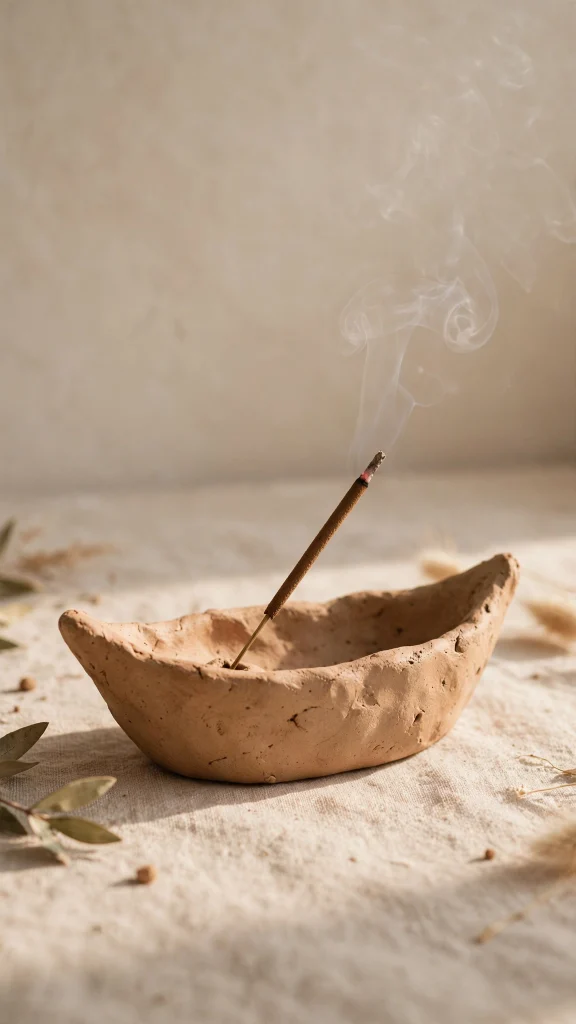
Idea 7: Clay Incense Holders
Incense holders bring ritual and scent into the hygge home, turning ordinary evenings into slow, sensory experiences. A handmade clay holder feels more personal than a mass-produced one, and its simple form keeps the focus on drifting smoke and calming fragrance. These are quick projects with a big atmospheric payoff.
The classic design is a long, slightly raised dish or a minimalist boat shape with a small hole to hold the incense stick. You can also create moon, leaf, or abstract shapes for a more decorative look. While shaping, test the angle so ash falls neatly onto the holder rather than the table. A slightly wider base also keeps the holder steady if it is bumped during everyday use.
Because incense involves heat and ash, keep the design simple and stable, and always place the holder on a heat-safe surface. Once dry and sealed, pair it with calming scents like sandalwood, cedar, or lavender for a cozy, grounded atmosphere. Clean ash regularly to keep the piece looking fresh.
Style your incense holder on a meditation corner tray, bedside table, or bathroom shelf alongside a candle and small plant. It becomes part of a quiet self-care vignette that invites you to slow down. Even a brief incense ritual can turn an ordinary evening into a calmer, more mindful one.
Idea 8: Minimalist Clay Jewelry Trays
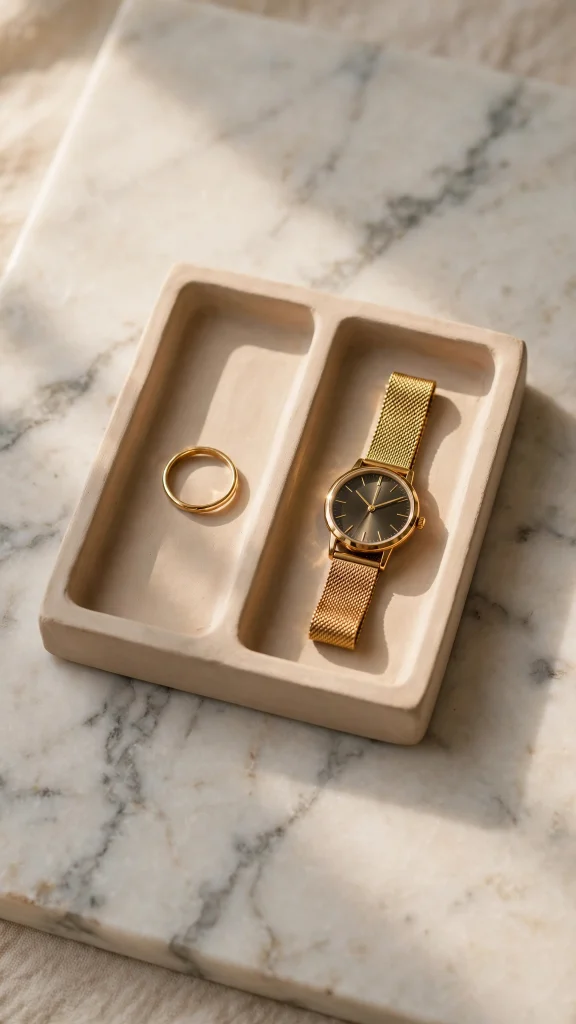
Minimalist jewelry trays are the quiet organizers every dresser needs. Unlike decorative trinket dishes, these are designed with clean lines and simple forms that keep everyday pieces visible and easy to grab. Their understated look fits seamlessly into Scandinavian bedrooms and serene vanity setups.
Roll clay into thin slabs and cut precise rectangles, soft squares, or long narrow trays. Gently lift the edges or add small raised lips to keep rings and earrings contained. A smooth, untextured surface enhances the minimalist aesthetic, so take time to refine the clay with water and a soft sponge before drying. Clean edges matter most here, so use a ruler or template for crisp, modern lines.
Neutral finishes like warm white, light gray, or natural beige keep the trays feeling calm and versatile. If you want subtle detail, add a single incised line, tiny dot pattern, or soft color-blocked edge rather than busy decoration. Seal well so the surface resists scratches from metal jewelry.
Use these trays to corral daily rings, a favorite watch, or delicate necklaces on a nightstand or dresser. Pair with a small mirror and a linen jewelry pouch for a tidy, Pinterest-worthy vanity corner. Keeping only current favorites on the tray also prevents clutter from building up unnoticed.
Idea 9: Rustic Matte-Glazed Clay Bowls
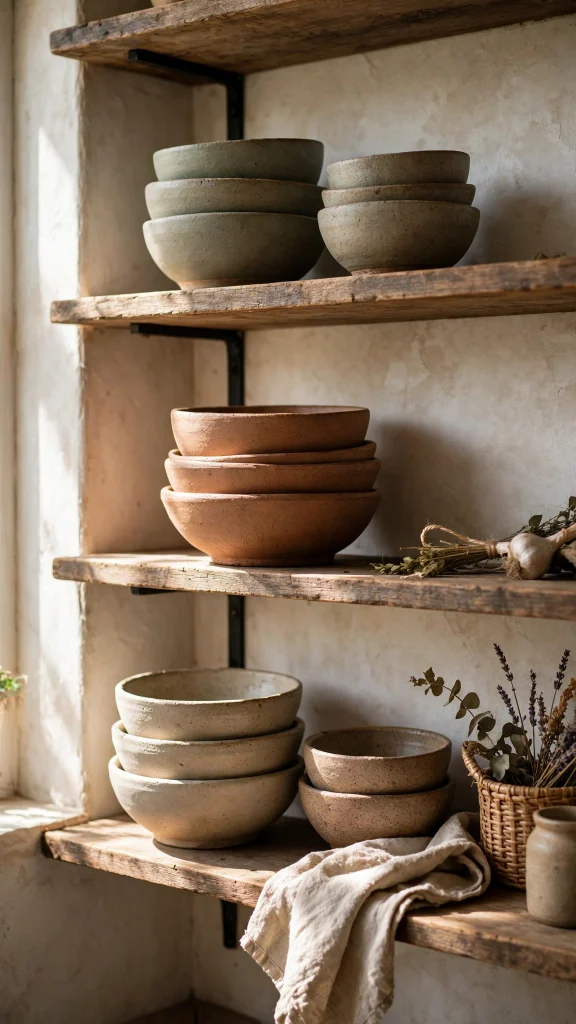
Rustic bowls bring an artisanal, slow-living feel to kitchens and dining spaces. Their matte glaze and slightly uneven rims feel honest and handmade, perfect for serving snacks, holding fruit, or displaying seasonal decor. They add warmth to open shelving in a way sleek ceramics sometimes cannot.
Hand-build these bowls using pinch or coil methods, embracing gentle asymmetry. Keep the walls a consistent thickness for strength, then smooth the interior for practical use. If you are using kiln-fired clay, a matte glaze in oatmeal, sand, sage, or soft charcoal enhances the rustic aesthetic while making the bowl food-safe when properly fired. Handmade bowls also develop a lovely patina over time, making them feel even more personal with use.
For air-dry versions, use the bowls decoratively rather than for food: fill them with potpourri, pinecones, wrapped candies, or spare keys. A matte sealant gives the surface a soft, stone-like finish that still feels refined. Stacking two or three bowls creates a beautiful sculptural moment on a sideboard.
Style rustic clay bowls with wooden boards, linen napkins, and dried florals for a cozy, gathered-table look. They bridge everyday function and decor beautifully, especially in hygge-inspired kitchens. Their earthy texture pairs beautifully with both modern cabinetry and vintage wooden furniture.
Idea 10: Handmade Clay Drawer Knobs
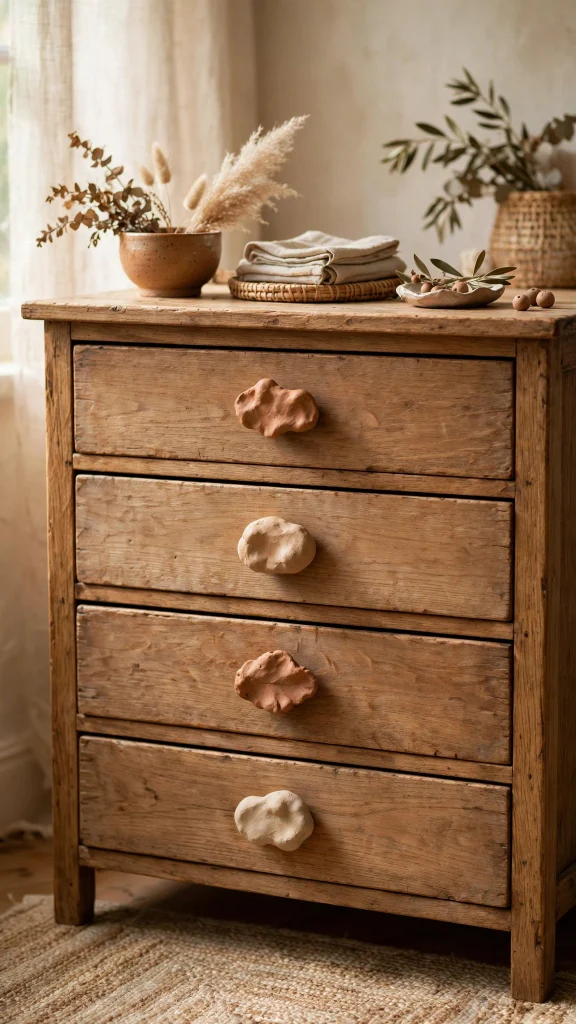
Drawer knobs might be the smallest project on this list, but they deliver one of the biggest style transformations. Swapping plain hardware for handmade clay knobs instantly personalizes dressers, nightstands, and cabinets. It is a renter-friendly upgrade with major charm.
Shape small knobs into rounds, faceted gems, mushrooms, stars, or abstract organic forms. Keep them comfortable to grip and proportionate to the drawer front. Insert a screw or bolt into the back while the clay is soft, making sure it is centered and secure, then allow the knob to dry fully before installation. Let the hardware set firmly so the knob does not twist loose with repeated use.
Paint or glaze the knobs in colors that complement your room, from soft neutrals to muted pastels or earthy terracotta. A durable sealant is important here because knobs get frequent handling. Test one knob first to make sure it feels sturdy and turns smoothly.
Try matching knobs for a cohesive look, or mix complementary shapes and tones for playful, eclectic furniture. This tiny handmade detail makes even simple IKEA-style pieces feel custom and thoughtfully styled. It is an easy weekend project with results you will notice every single day.
Final Thoughts
Clay has a special way of slowing us down and making home feel more personal. Each of these ten projects proves that you do not need expensive tools or advanced skills to create decor with soul. With simple shaping, thoughtful finishing, and cozy styling, handmade clay pieces can bring warmth and texture into every room. The process itself can become a relaxing ritual, especially when paired with music, tea, or quiet time.
Start with the project that excites you most, then let your collection grow naturally over time. Before long, your home will hold small, meaningful details that reflect your creativity—and your Pinterest-perfect hygge aesthetic will feel completely your own. Save your favorite ideas to Pinterest, gather simple supplies, and enjoy making your home softer and more handmade.