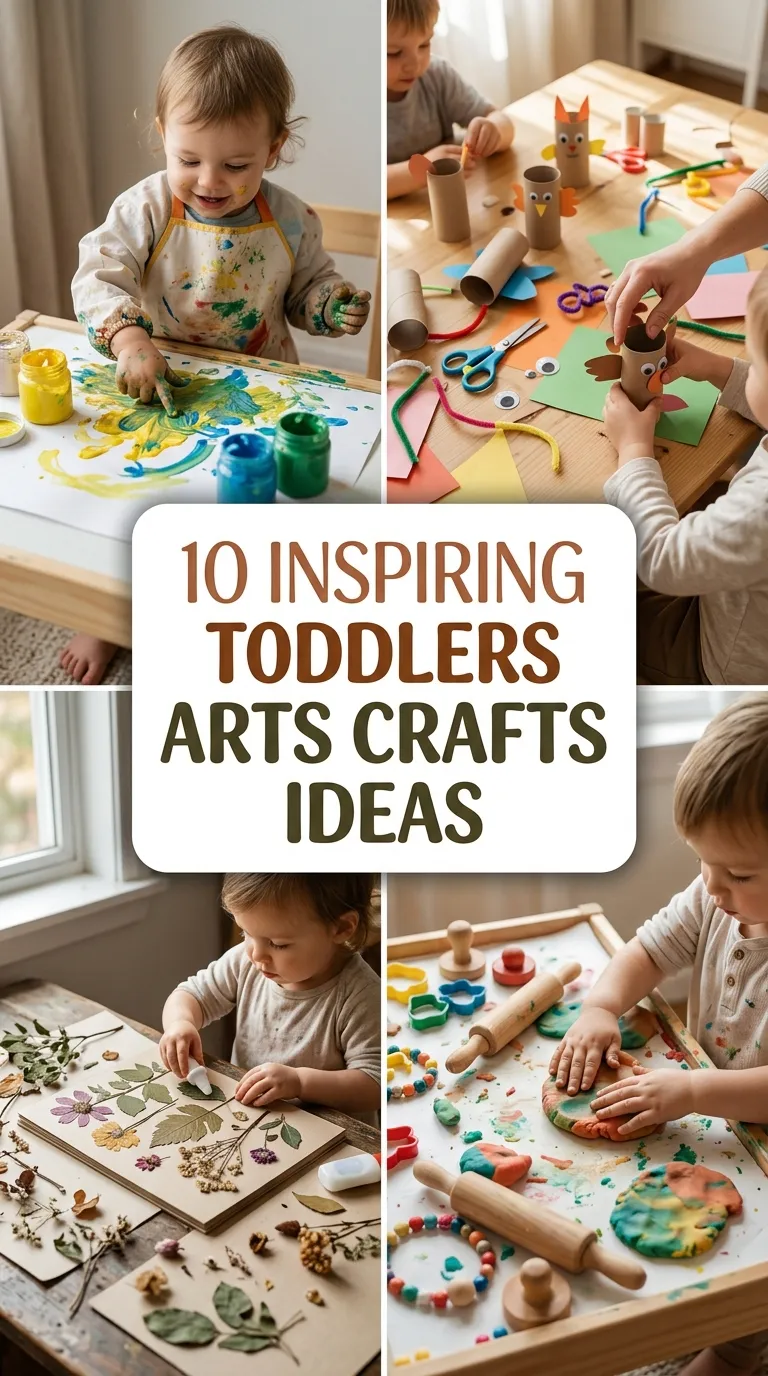
10 Inspiring Toddlers Arts Crafts Ideas
Toddlers learn with their hands, their eyes, and their whole squishy hearts, which is exactly why arts and crafts time is one of the most valuable hours in a little one’s day. Every scribble and smear is really a workout for fine motor skills, color recognition, and creativity. The trick is choosing projects that match what tiny hands can actually do: big motions, simple steps, and materials that are safe if they end up in a mouth.
The best toddler crafts are gloriously forgiving. There is no wrong way to finger-paint a rainbow or press a sponge into paint, so your little artist gets the satisfaction of finishing something beautiful without frustration. These ten ideas are built around process over perfection — activities that keep toddlers engaged and produce keepsakes you will actually want to hang on the fridge or gift to grandparents.
Each project below uses simple, inexpensive, toddler-safe materials and takes between ten and twenty minutes of active crafting, which matches a toddler’s natural attention span. Let’s dive into ten inspiring crafts that turn ordinary afternoons into little moments of magic.
Idea 1: Finger-Paint Rainbow Arches
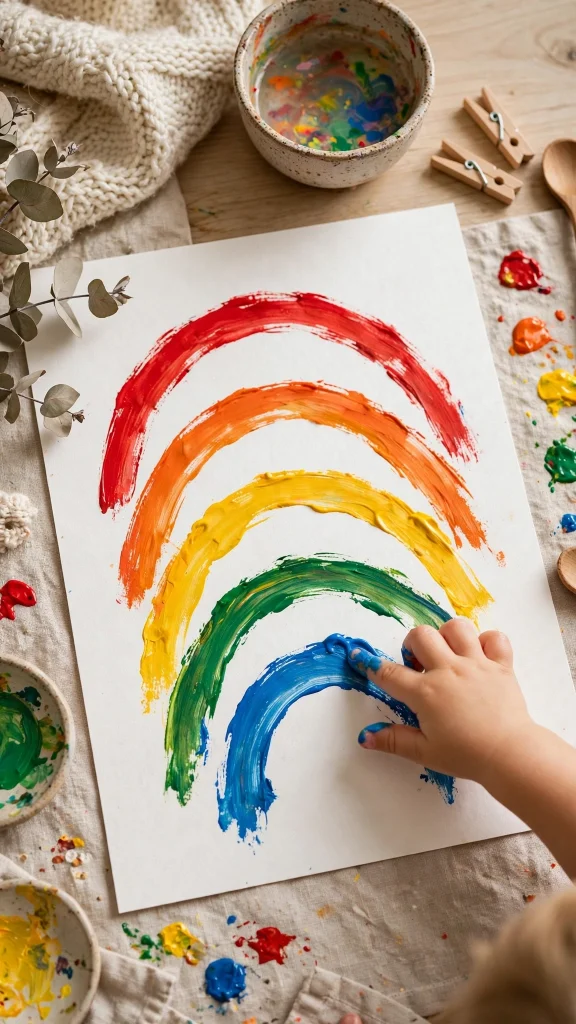
There is something almost magical about watching a toddler discover that their own fingers can make color appear on paper. Finger-paint rainbow arches are the perfect first craft because they require zero tools beyond washable paint and a big sheet of paper, and the sweeping curved motion builds the same wrist control they will need later for writing. Tape a large piece of white paper to the table or floor so it stays put while little hands get busy.
Start by squeezing a small dollop of each rainbow color onto a paper plate or directly onto the paper in a row. Show your toddler how to dip a finger into the paint and drag it in a gentle arc to make the first stripe. Younger toddlers may just smear colors together into a glorious blob, and that is completely fine — the sensory experience is the point. Older toddlers can try making one arch per color, working from the outside in, which teaches sequencing and color order in a hands-on way.
To keep the fun going, offer a second sheet of paper so they can experiment freely after the rainbow is done — toddlers love mixing colors to see what happens. If you want a keepsake version, lightly sketch a faint arch outline in pencil first as a guide, then frame the finished rainbow for the playroom wall. Lay a plastic tablecloth underneath and keep a damp washcloth nearby for quick hand wipes between colors, and cleanup is easy.
Idea 2: Pasta Necklace Threading
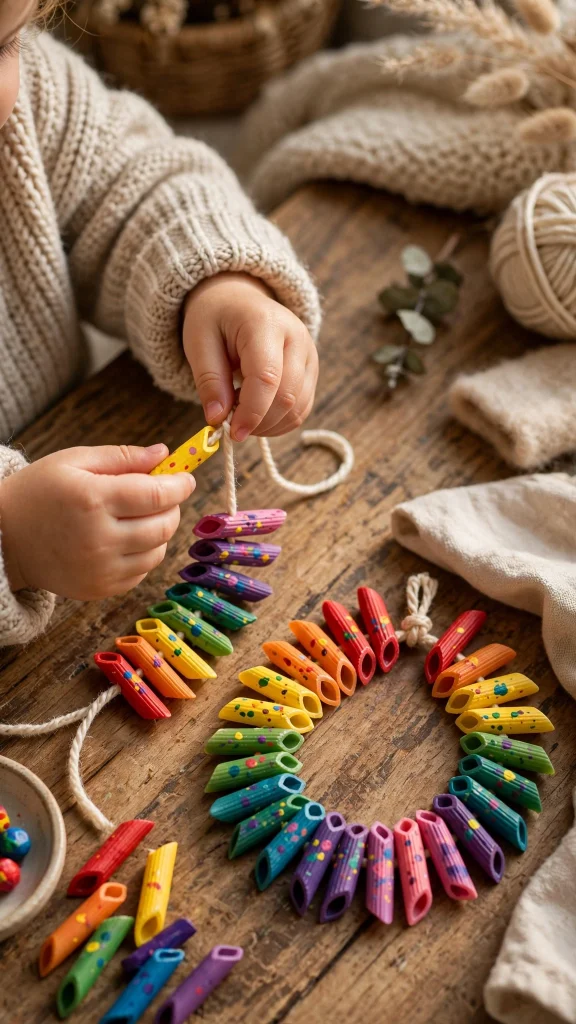
Pasta necklace threading is a quiet-time hero: it is calm, portable, and brilliant for developing the pincer grasp toddlers need for holding pencils later on. All you need is dry penne or rigatoni pasta, a length of yarn with a taped tip, and washable paint or food coloring if you want to dye the pasta first. Dyeing is optional but adds a rainbow of color — just shake the pasta in a zip bag with a few drops of food coloring and let it dry on a tray.
Tie a large knot at one end of the yarn so the pasta does not slide off, then show your toddler how to push the pasta onto the string. For very young toddlers, start with a stiff pipe cleaner instead of yarn since it holds its shape and is much easier to poke through the tubes. Sit together and take turns adding pieces, naming the colors as you go for a little language boost. There is no right pattern, so every necklace is a one-of-a-kind treasure.
Once the necklace is long enough, tie the ends together and let your toddler wear their creation proudly — these make adorable gifts for grandparents too. If the pasta was dyed, it is best as a play necklace rather than something to chew on, so supervise closely. This craft travels well, so pack a small bag of pasta and a cord for restaurant waits or long car rides.
Idea 3: Sponge-Stamp Shape Art
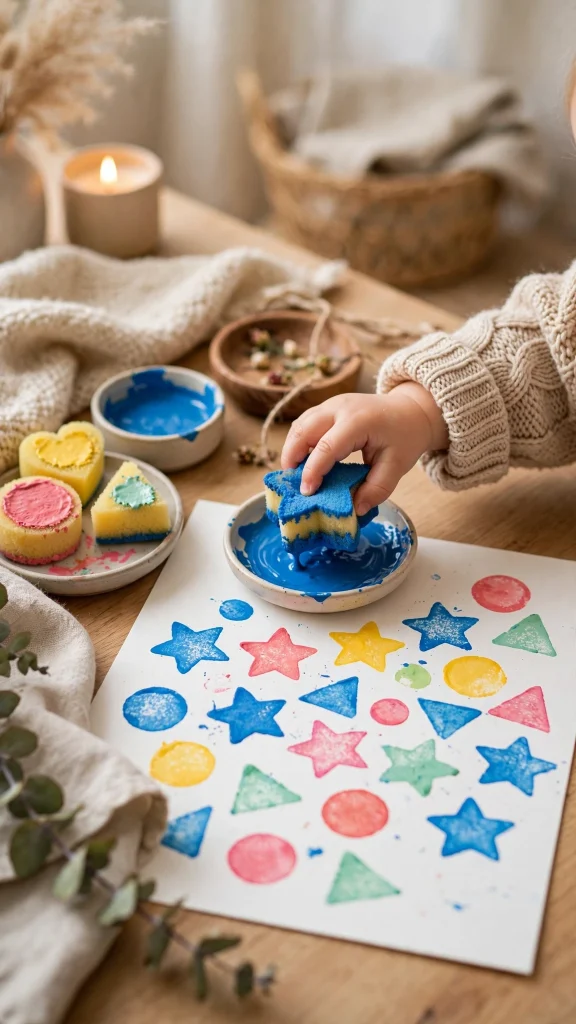
Sponge-stamp shape art turns ordinary kitchen sponges into toddler-friendly printing tools, and the bold prints they make look impressively modern on paper. Cut clean sponges into simple shapes — circles, stars, hearts, triangles — using cookie cutters as guides. You will also need washable tempera paint poured into shallow plates, one color per plate, plus sturdy cardstock that can handle a bit of moisture.
Show your toddler how to press the sponge gently into the paint, then stamp it firmly onto the paper and lift straight up to reveal the shape. The magic moment when the shape appears never gets old, and toddlers will happily stamp the same star twenty times in a row. Talk about the shape names and colors as they work — “You stamped a blue circle!” — to weave early learning into the play. For toddlers who dislike messy fingers, this is perfect because they can hold the sponge like a handle.
When the masterpiece is done, let it dry flat and turn it into greeting cards, gift wrap, or framed nursery art. Clean the sponges right away with warm soapy water so they are ready for next time. This craft also works beautifully on a long roll of paper taped to the floor for a collaborative family art session.
Idea 4: Cotton-Ball Cloud Collages
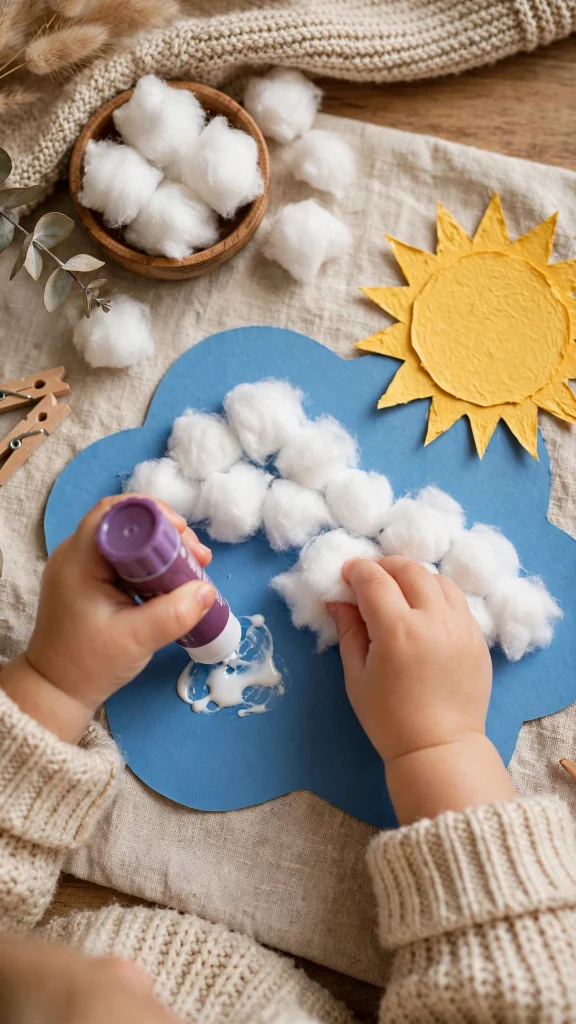
Cotton-ball cloud collages are soft, dreamy, and wonderfully tactile — toddlers adore the squishy texture of cotton balls, and gluing them builds hand strength in the gentlest way. Start with blue construction paper, a small bowl of liquid glue, and a pile of cotton balls. Add silver star stickers or a yellow paper sun to create a whole sky scene around the clouds.
Let your toddler squeeze glue onto the paper, then press cotton balls into the glue to form big fluffy clouds. Show them how to stretch a cotton ball slightly to make it wispy, which is a lovely fine-motor challenge. As they work, chat about the weather — what clouds look like, where the sun hides — turning the craft into a cozy little science and language moment. There is no wrong cloud, so every collage looks delightfully different.
Once the clouds are in place, add the extras: star stickers for a night sky or a smiling paper sun. Let the collage dry completely flat so the cotton balls stay put. For a mess-free twist, use contact paper sticky-side-up taped to the table so toddlers can press cotton balls and stickers on without any glue at all.
Idea 5: Handprint Flower Bouquets
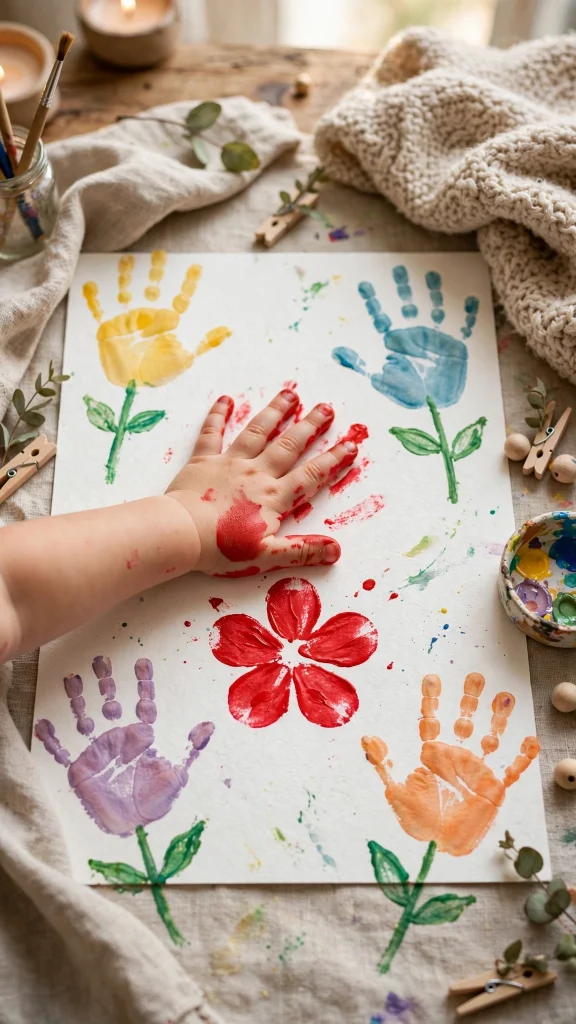
Handprint flower bouquets are the keepsake craft grandparents treasure most, capturing the exact size of tiny hands at this fleeting stage. You will need washable paint in flower colors, green paint for stems and leaves, cardstock, and a steady supply of wipes. Stamp each handprint with fingers spread wide — the fingers become the flower petals, a detail toddlers find delightful when you point it out.
Paint your toddler’s palm and fingers with a thin coat of paint using a foam brush, then help them press their hand firmly onto the paper and lift straight up. Make several handprints in different colors to form a bouquet, then paint on green stems and leaves below each flower. Write the date and your child’s name on the back so the memory is preserved. If the paint feels ticklish and your toddler resists, try tracing their hand on colored paper and cutting it out instead — same adorable result, zero paint on skin.
These bouquets shine as Mother’s Day gifts, birthday cards, or framed nursery decor. For a fun group version, each child in a playdate adds one handprint flower to a shared “garden” poster. Keep paint layers thin so the prints dry quickly, and always have a damp cloth ready for speedy cleanup.
Idea 6: Torn-Paper Mosaic Animals
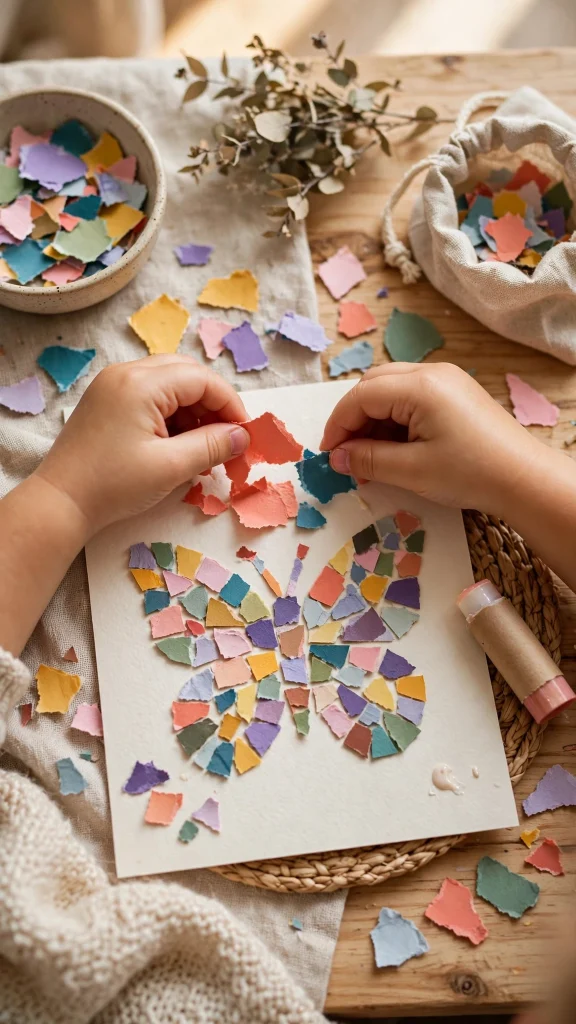
Torn-paper mosaic animals are perfect for toddlers who are not quite ready for scissors but love the satisfying rip of paper. Tearing builds the same hand muscles as cutting, and arranging the pieces into an animal shape introduces early puzzle skills. Choose a simple silhouette — a fish, butterfly, turtle, or owl — and draw a large outline on cardstock. Provide colorful construction paper for tearing, plus a glue stick.
Demonstrate how to tear the paper into smallish pieces, and let your toddler rip away freely — the tearing is half the fun and great for little fingers. Then show them how to spread glue inside the animal outline and press the torn pieces on top, overlapping slightly like mosaic tiles. There is no need to stay perfectly inside the lines; a slightly wild mosaic has more charm. Name the colors and the animal’s parts as you work for a natural vocabulary lesson.
When the mosaic is covered, shake off the loose bits and let it dry flat. These look fantastic displayed in a row as a little paper zoo on the playroom wall. Save leftover torn pieces in a jar for future collages — toddlers love seeing their “confetti” reused.
Idea 7: Playdough Cookie-Cutter Shapes
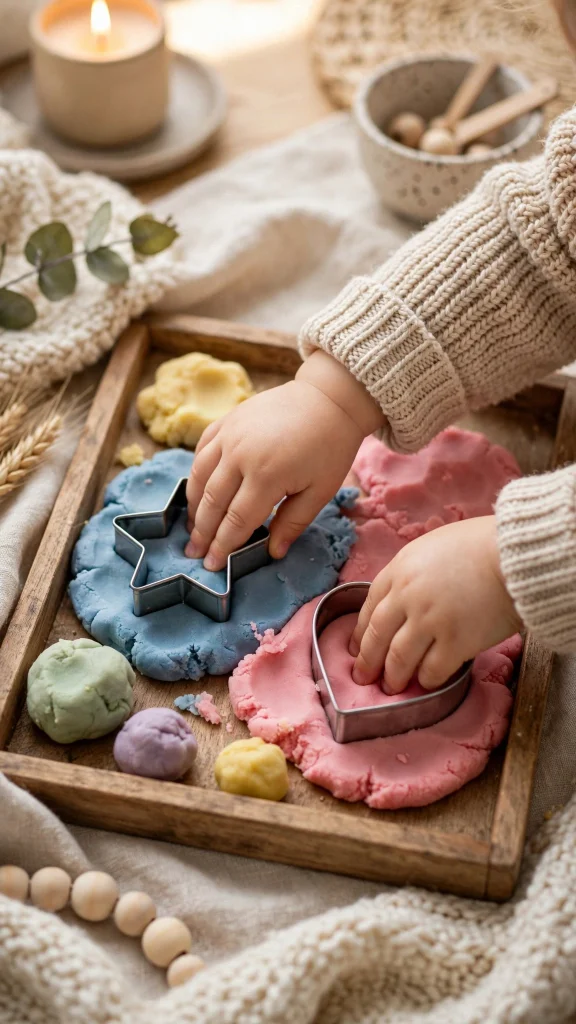
Playdough and cookie cutters are a timeless toddler pairing that never loses its appeal, combining sensory squish with satisfying shape-making. Use store-bought playdough or whip up a homemade batch with flour, salt, water, and cream of tartar — homemade is softer, cheaper, and you know exactly what is in it. Gather cookie cutters in fun shapes, a child-safe rolling pin, and a tray to contain the fun.
Show your toddler how to flatten the dough with their palms or the rolling pin, then press a cookie cutter straight down and lift it to reveal the shape. Peeling the shape out of the cutter is a wonderful little fine-motor victory. Encourage them to poke the shapes with their fingers, stack them into towers, or press small objects like buttons into the dough for texture — open-ended playdough time can easily stretch to thirty happy minutes. Narrate what they are making to build language: “You made a yellow star!”
When play is done, store homemade playdough in an airtight container to keep it soft for weeks. If you want to preserve a favorite creation, bake salt-dough shapes in a low oven, then paint them once cool — they become ornaments or keepsakes. Always supervise closely since small dough pieces can be a mouthful temptation.
Idea 8: Sticker-Scene Storyboards
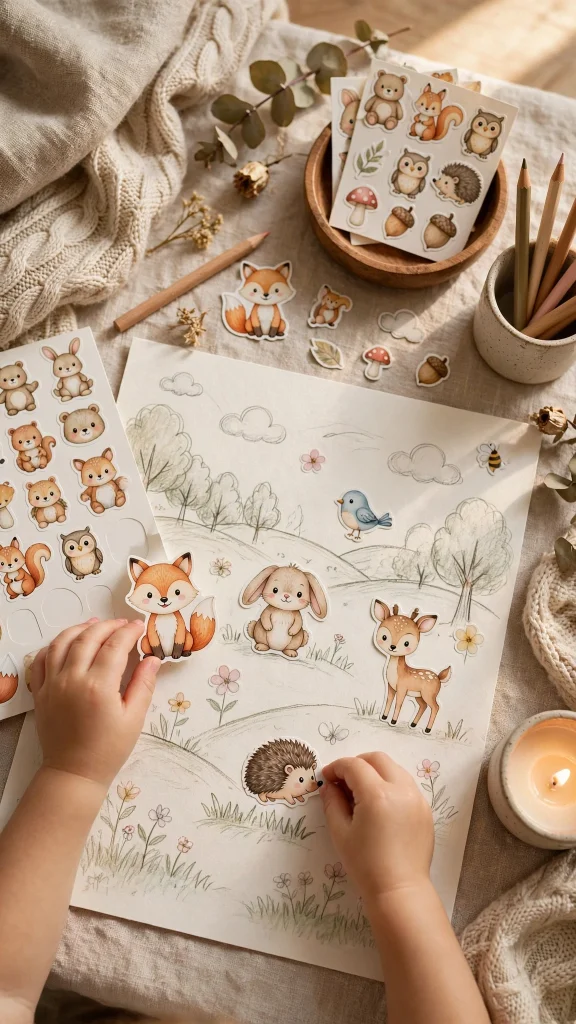
Sticker-scene storyboards turn a sheet of paper into a tiny world your toddler invents, one sticker at a time — and peeling stickers is one of the best fine-motor workouts around. Pick up themed sticker sheets: animals, vehicles, stars, or food, plus a large sheet of paper for the scene. Repositionable stickers are ideal since toddlers love to change their minds and move things around.
Hand your toddler the paper and let them peel and place stickers wherever they like, building a scene as they go. Ask open questions while they work: “Where is the doggy going?” or “What is the star doing up there?” — this transforms a simple sticker activity into early storytelling and language practice. There is no right composition, so resist the urge to rearrange their masterpiece. For toddlers who struggle with peeling, bend the sticker sheet slightly to give them a starting edge.
Bind a few storyboard pages together with yarn to make a homemade picture book they can “read” again and again. This is also a brilliant travel activity since sticker books are compact and mess-free.
Idea 9: Bubble-Wrap Stomp Painting
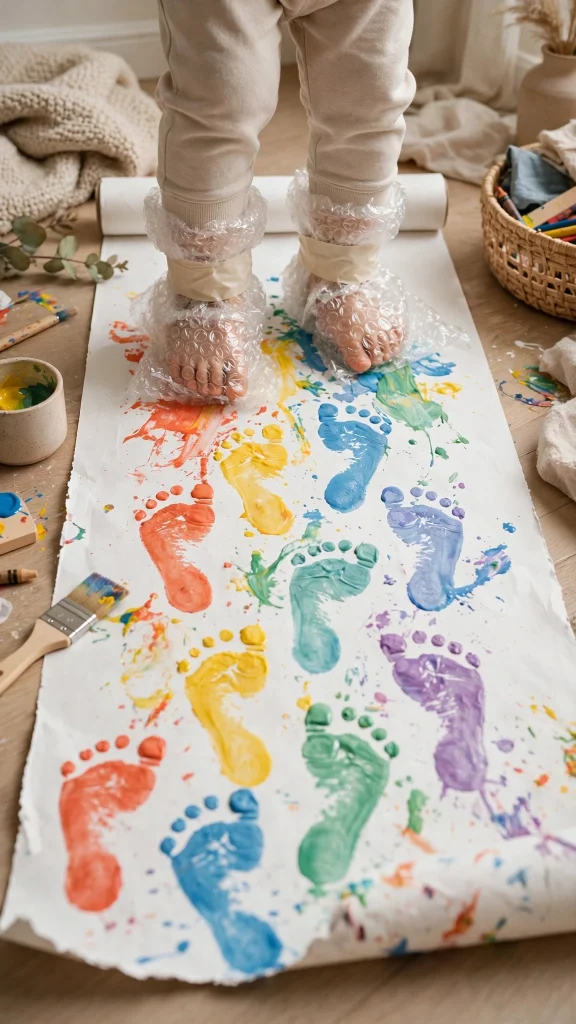
Bubble-wrap stomp painting is gloriously loud, gloriously messy, and absolutely unforgettable — the craft toddlers talk about for weeks. Wrap bubble wrap around your toddler’s feet with a bit of tape (over socks works best), pour washable paint into shallow trays, and lay a long roll of paper on the floor. This is strictly an outdoor or easy-clean-floor activity, so pick a warm day or a washable space.
Let your toddler step into the paint trays, then stomp, march, dance, and twirl across the paper, leaving a trail of wonderfully textured footprints. The popping bubbles underfoot add a sensory thrill that makes this craft pure joy. Join in with your own bubble-wrap boots and play music to turn it into a full-body art experience. The resulting prints look like fascinating abstract art — hang a section in the playroom as a conversation piece.
For a calmer variation, wrap bubble wrap around a rolling pin and let toddlers roll paint patterns onto paper at the table. Always use washable, non-toxic paint and keep the stomping area clear of slippery spots.
Idea 10: Nature Texture Rubbing Art
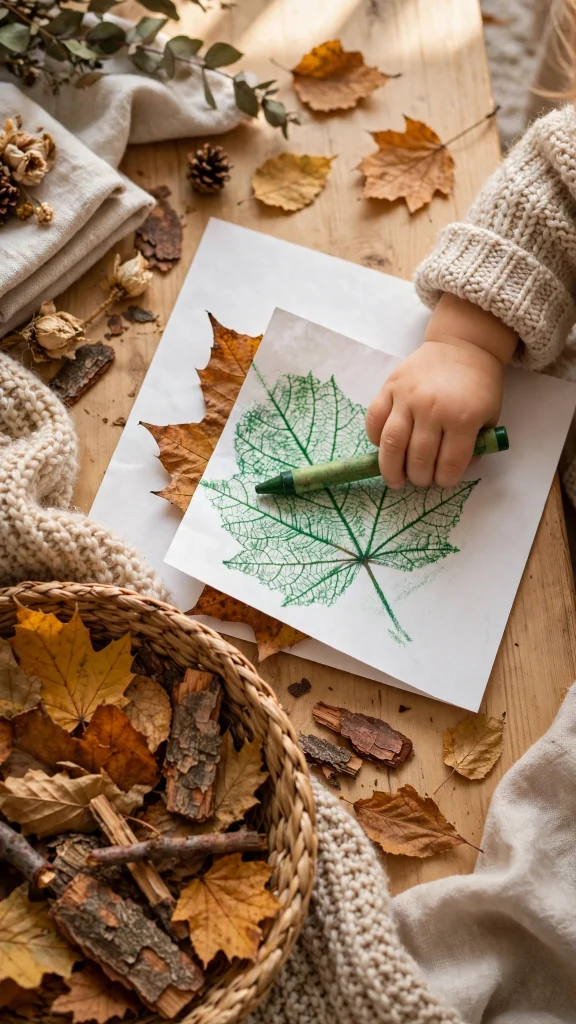
Nature texture rubbing art takes the craft table outside, combining a mini nature walk with a magical art reveal that feels like a science experiment. All you need is a small basket for collecting, thin white paper, and the flat side of peeled crayons. Head outside together and gather interesting treasures: leaves with strong veins, pieces of bark, or flat stones — the collecting walk is half the fun and a lovely way to burn toddler energy.
Back at the table, place a leaf under the paper and show your toddler how to rub the side of the crayon gently back and forth over the top. The hidden texture appearing like magic never fails to delight, and the rubbing motion builds wrist strength and control. Try different colors on the same leaf for rainbow rubbings, or layer several textures on one page for a rich collage. Talk about what you found — rough bark, smooth stone, veiny leaf — building sensory vocabulary as you go.
Mount the best rubbings on colored cardstock to make nature greeting cards, or bind them into a little “nature journal” with the date and where each treasure was found. This craft works in every season, is screen-free and nearly free of cost, and leaves your toddler with a deeper appreciation of the natural world.
Final Thoughts
These ten toddler crafts prove that the simplest materials — paint, paper, pasta, and the great outdoors — can fill an afternoon with creativity, learning, and laughter. The real masterpiece is never the finished paper; it is the confidence your toddler builds with every stamp, tear, and stomp, and the cozy memories you make side by side at the craft table.
So pick one idea, gather your supplies, and let your little artist lead the way. Hang the results proudly, gift them generously, and remember that every gloriously imperfect creation is exactly perfect for this moment. Happy crafting!