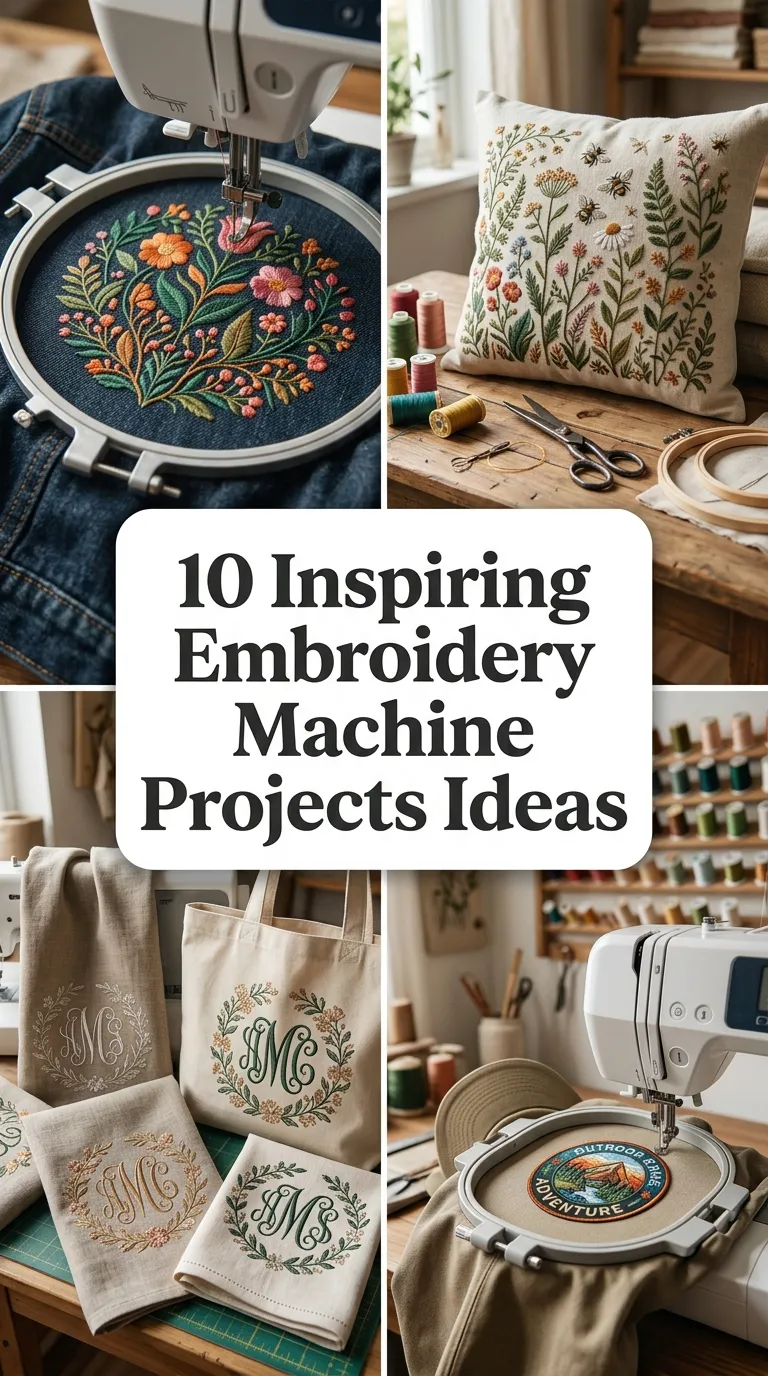
10 Inspiring Embroidery Machine Projects Ideas
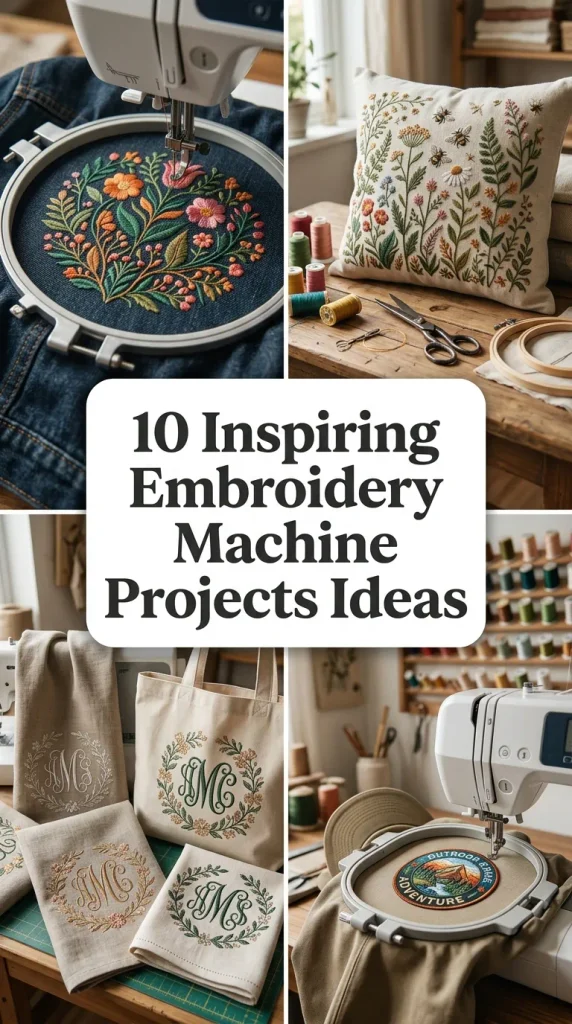
There is something deeply satisfying about watching an embroidery machine hum along, stitching a design that would take hours by hand in a fraction of the time. Whether you have just unboxed your first machine or you have been hooping fabric for years, machine embroidery opens a door to personalized home decor, thoughtful handmade gifts, and small business opportunities that all begin with thread, stabilizer, and a little imagination.
If you have been wondering what to stitch next, consider this your creative kickoff. The projects below range from quick evening makes to weekend showpieces, each with practical guidance on fabrics, stabilizers, hooping, and finishing. Many also make wonderful gifts — monogrammed napkins, personalized onesies, and custom pet portrait patches carry a handmade charm that store-bought items cannot match. Wind a few bobbins, and enjoy the most relaxing part: watching it all come together.
Idea 1: Monogrammed Linen Napkins
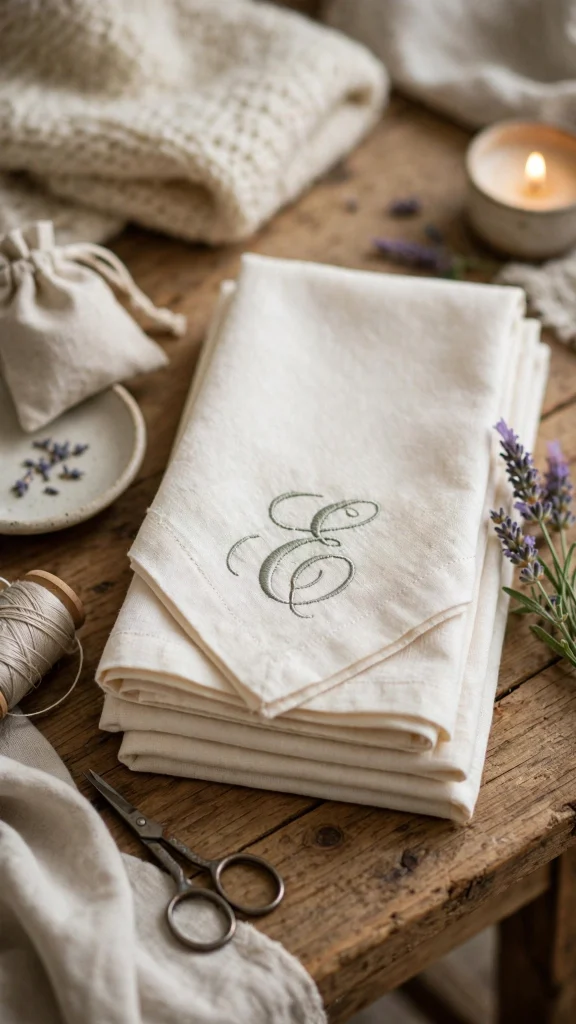
A set of monogrammed linen napkins is one of the most elegant projects you can make with an embroidery machine, and it is far easier than it looks. Natural linen or linen-cotton blends give a refined, textured backdrop for a classic script monogram, and because napkins are flat and simple to hoop, they are an excellent beginner project with a heirloom-quality result. Choose a thread color that contrasts gently — soft charcoal on ivory, sage on flax — or deep navy for a modern table.
For materials, cut napkin squares about 19 to 20 inches before hemming, and pre-wash the linen to remove sizing and pre-shrink it. Use a medium-weight cutaway stabilizer behind the linen so the satin-stitch letters sit crisp instead of sinking. Float the fabric if your hoop marks easily, securing it with a light spray adhesive. A standard three-letter monogram stitches out in about fifteen minutes, centered roughly two inches above the hemline for classic placement.
Finish with mitered corners and a narrow hem, then press well. Consider stitching a small coordinating motif, such as a sprig of lavender, beside the monogram for a custom touch. Make sets of four, six, or eight for wedding or housewarming gifts, bundled with a linen ribbon. These napkins get better with every wash, and the embroidery holds up beautifully through years of dinners.
Idea 2: Embroidered Denim Jacket Back Panel
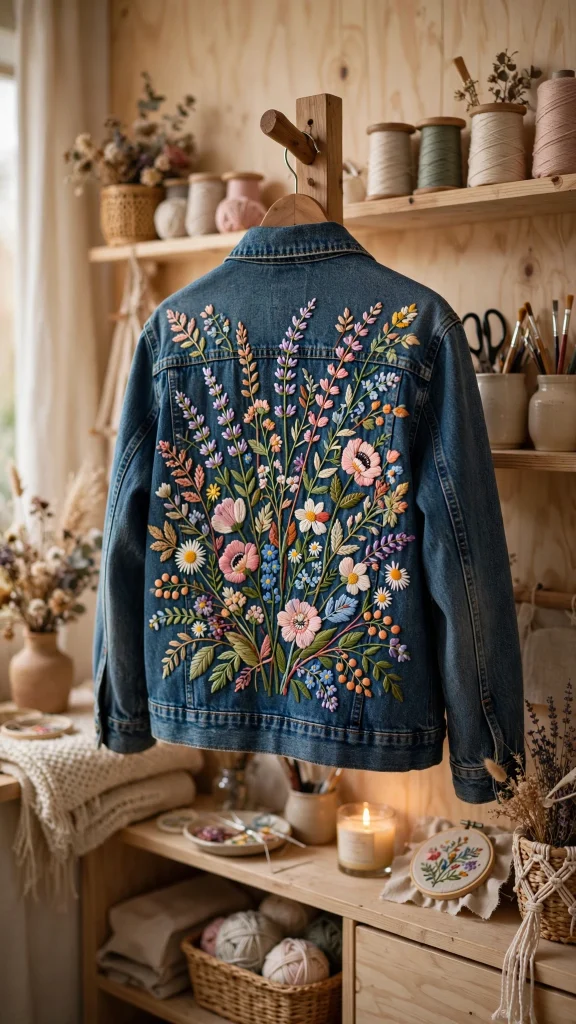
Turning the back of a denim jacket into an embroidered canvas is a show-stopping project that turns a wardrobe basic into a one-of-a-kind statement piece. Floral wreaths, vintage-inspired botanicals, bold lettering, or a sprawling wildflower meadow all look stunning stitched across the broad back panel. Pick a medium-weight denim in clean indigo or washed black, and let variegated threads create gorgeous depth in petals and leaves.
Denim is thick and stable, so it hoops beautifully with a medium cutaway stabilizer and a sharp 90/14 embroidery needle. Mark the design center with a washable fabric pen, then hoop the jacket back straight and taut, avoiding drag or wrinkles that could distort the stitching. If the jacket has a center back seam, position your design to work around it. Dense designs need a slow machine speed — around 600 stitches per minute keeps things precise and reduces thread breaks on heavy fabric.
When the stitching is done, trim jump threads and press from the wrong side. Consider adding a stitched name, date, or tiny coordinates inside the inner yoke for a secret signature. These jackets make unforgettable gifts — wearable art that draws compliments everywhere.
Idea 3: Floral Hoop Wall Art
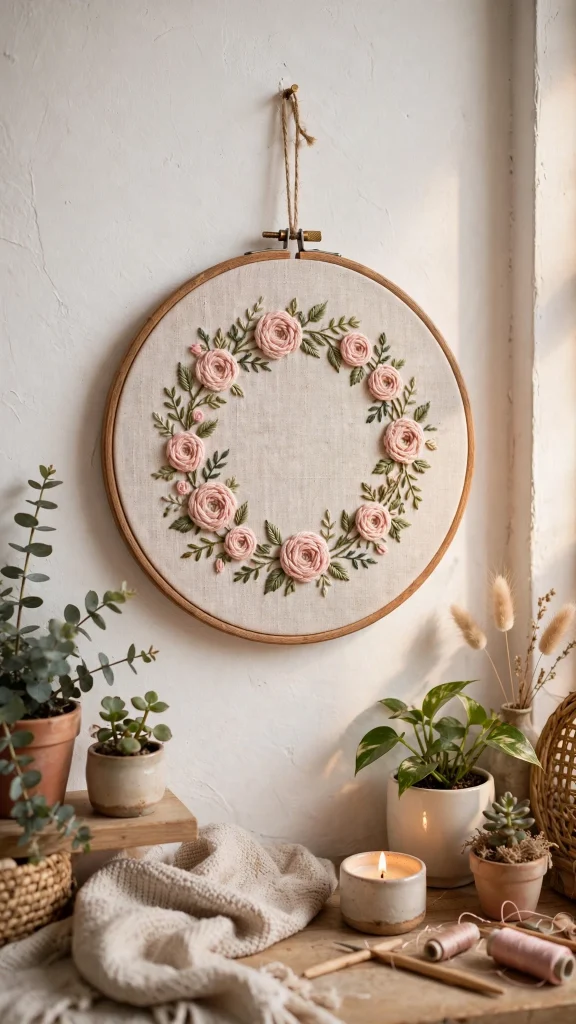
Floral hoop wall art is the quintessential machine embroidery decor project: quick, endlessly customizable, and beautiful in every room. Stitch a floral design onto natural linen or cotton, leave the fabric in a wooden embroidery hoop, and hang it as finished art. Wreaths, wildflower bouquets, and botanical sprays all translate beautifully, and the visible hoop becomes part of the charm, echoing farmhouse, bohemian, and Scandinavian interiors alike.
Use a tight-weave cotton or linen with a light cutaway or tearaway stabilizer so the satin stitches stay defined. Hoop the fabric drum-tight, because any looseness will pucker once the hoop tension relaxes on display. Thread painting — layering shades of pink and blush for roses, or blending greens for eucalyptus — elevates a simple design into something that looks hand-painted. Most designs in a six- or seven-inch hoop stitch out in under an hour.
For finishing, trim excess fabric about an inch beyond the hoop, gather it with a running stitch, and secure it to the back. Wrap the hoop in linen tape or leave the natural wood exposed, and add a ribbon loop for hanging. Create coordinated sets of three in different sizes for a gallery wall, or stitch seasonal versions — cherry blossoms for spring, sunflowers for summer — and swap them through the year.
Idea 4: Personalized Baby Onesies
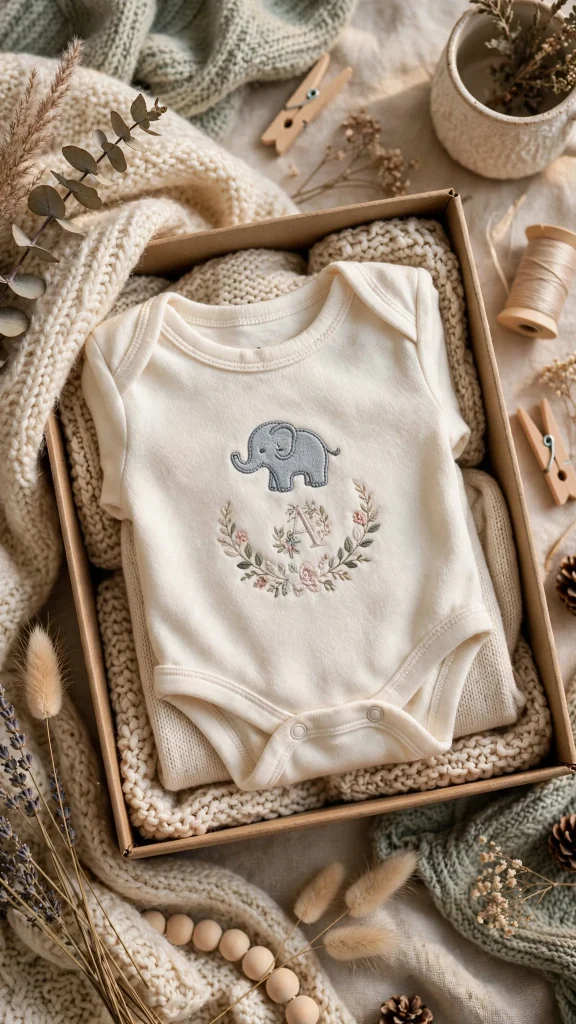
Few gifts melt hearts like a personalized baby onesie, and an embroidery machine makes them fast, adorable, and professional. Names, birth dates, and sweet little motifs — tiny elephants, sleepy moons, floral initials — stitch beautifully on soft cotton knit. Keep designs compact, generally under four inches wide, centered on the chest a couple of inches below the neckline, so the embroidery does not interfere with the envelope shoulders.
Knit fabric is stretchy, so stabilization is everything. Hoop a medium cutaway stabilizer first, then float the onesie on top with temporary spray adhesive, keeping the fabric smooth and unstretched. Add water-soluble topping over the design area to keep stitches from sinking into the knit, and use a ballpoint 75/11 needle. Stitch at a moderate speed — knits reward patience with a smooth, pucker-free finish.
Choose soft polyester embroidery thread, which resists fading through countless washes, and press finished onesies from the wrong side. Make a trio for a baby shower gift — one with the name, one with the birth month, one with a first-holiday design — folded into a keepsake box. Personalized onesies are also perennial bestsellers at markets and online shops; just source quality blanks and keep a list of popular fonts and motifs.
Idea 5: Embroidered Canvas Tote Bags
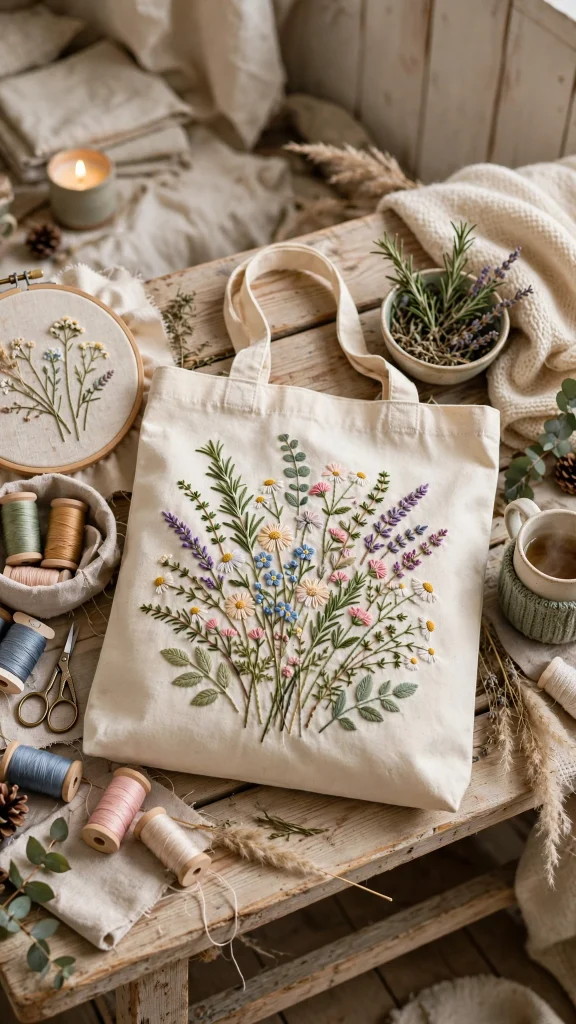
A plain canvas tote becomes a boutique-worthy accessory the moment you add machine embroidery. Wildflower sprigs, witty quotes, monograms, or herb garden labels all elevate this everyday essential into something giftable and personal. Heavyweight cotton canvas holds stitches beautifully, and the flat front panel of a standard tote is one of the easiest surfaces you will ever hoop — a great confidence-building project with a genuinely useful result.
Hoop a medium cutaway stabilizer and float the tote panel on it, keeping seams and handles clear of the hoop. If the tote is already constructed, open it flat and hoop just the front panel, supporting the bag’s weight so it does not drag during stitching. For unconstructed totes, embroider the panel before sewing. Use a 90/14 sharp needle on heavy canvas, and keep designs roughly five to six inches wide, centered on the bag.
Finish with coordinating thread in the seams if you are sewing the bag yourself, or simply press and gift. Totes make fantastic group gifts: stitch a matching set with each friend’s initial for a bridal party, or market bags with herb labels for the gardener in your life. They also sell well at craft fairs. Consider adding an interior pocket or a magnetic snap to take your handmade bag from cute to truly functional.
Idea 6: In-the-Hoop Holiday Ornaments
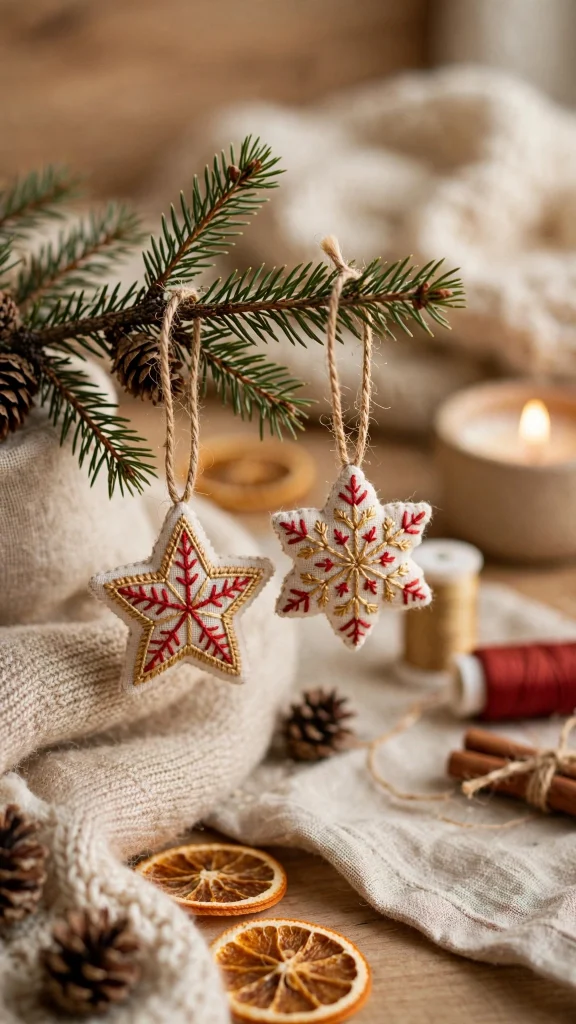
In-the-hoop projects are pure embroidery machine magic: the design, the shaping, and the finishing are all done inside the hoop, and a holiday ornament pops out nearly complete. Stars, snowflakes, little stockings, and Christmas trees are classic choices, and because the machine stitches the front, the back, and the edging in one sequence, you get a perfectly finished ornament every time. These are addictive little makes — fast, satisfying, and ideal for batch production.
You will need fabric scraps, batting or felt for body, and water-soluble stabilizer as the base, since the ornament is built on the stabilizer itself. Follow the design’s step sequence carefully: it typically stitches a placement line, then the front applique, then positions the backing, and finishes with a satin edge that seals everything. Keep small curved scissors handy for trimming applique fabric close to the tack-down line, and tuck a ribbon loop into the top edge before the final border.
Make a whole tree’s worth in an afternoon by lining up several hoops assembly-line style. Personalize ornaments with names or the year, and they become treasured keepsakes. Package sets of four or six in kraft boxes with tissue for beautiful handmade gifts — and do not stop at Christmas, since the same technique makes hearts, eggs, and pumpkins. Once you master one in-the-hoop design, a world of dimensional projects opens up.
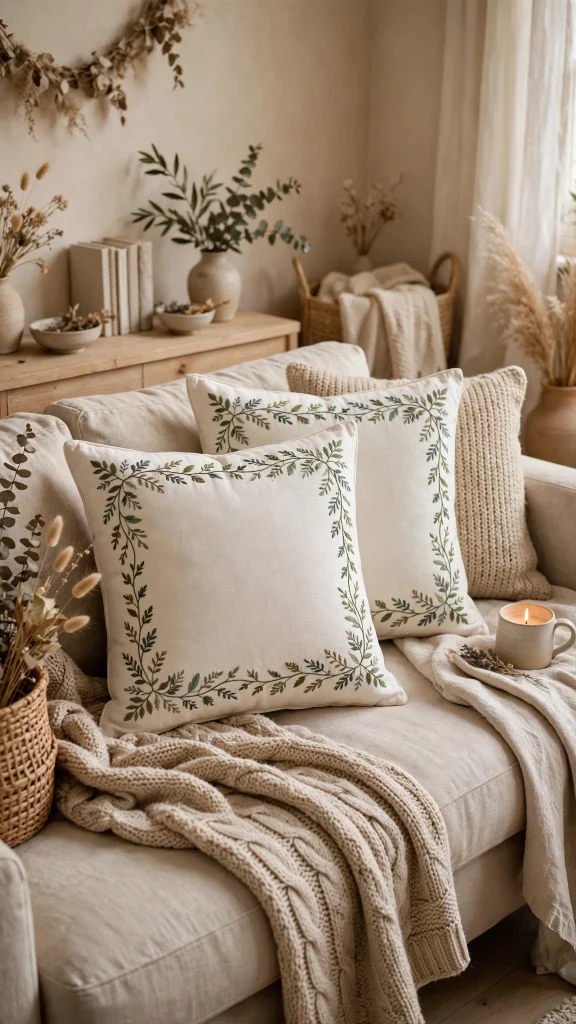
Idea 7: Decorative Pillow Covers with Embroidered Borders
An embroidered border transforms a plain pillow cover into a designer-looking accent piece — one of the most impactful home decor projects your machine can make. Greek key patterns, botanical vines, scalloped edges, and geometric bands all frame a cushion beautifully. Work with a solid or subtly textured fabric — linen, cotton duck, or velvet — so the embroidery takes center stage, and choose a border design that repeats cleanly around all four sides.
Border designs often exceed a single hooping, so plan to re-hoop with registration marks. Most quality border files include alignment stitches: stitch the first segment, mark the registration points with a water-soluble pen, then re-hoop so the marks line up with the next segment’s start. A medium cutaway stabilizer keeps long borders from distorting, and keeping the fabric grain straight in the hoop is critical — a border that drifts off-grain will look crooked once the pillow is stuffed.
Sew the cover with an envelope or zipper closure, and consider piping in a coordinating color for a polished look. Make pairs in complementary borders for a sofa, or a set of four for a bed. Because covers are flat until stuffed, they store and ship easily — a smart product for an Etsy shop. Change the border style seasonally — a holly vine for winter, a seashell band for summer — and your decor refreshes with almost no effort.
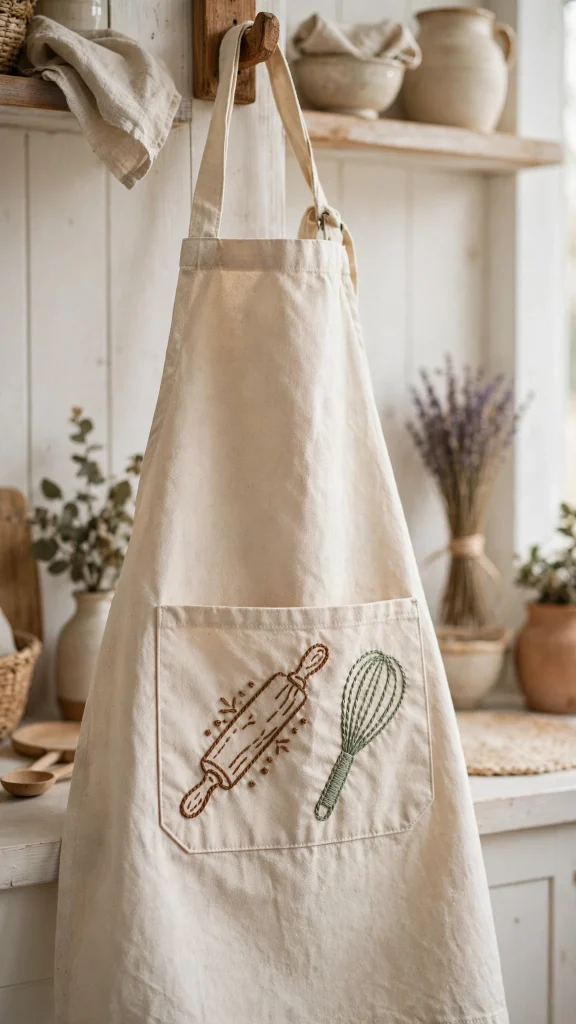
Idea 8: Embroidered Apron Pocket Designs
An apron pocket is a small canvas with big personality, and a stitched design turns a practical kitchen essential into something delightful. Whisks and rolling pins for the baker, herb sprigs for the gardener, paintbrushes for the artist, or a witty family motto — the pocket placement makes every design feel intentional. Because pockets are small, this is a fantastic way to use fabric scraps and test-drive new designs without committing to a large project.
Stabilize the pocket fabric before embroidering: hoop cutaway stabilizer and float the pocket piece, or embroider the pocket before attaching it to the apron for the easiest hooping. Twill, canvas, and denim aprons hoop well; lighter cotton needs a medium cutaway so stitches do not pucker. Keep the design centered with at least half an inch of clearance from the edges, and position it slightly lower than you think, since the top hem will fold over.
Attach the finished pocket with topstitching in coordinating thread, and add a hanging loop or divided pocket for tools. Make matching aprons for a cooking class group, stitch herb names on pockets for a gardener’s apron, or create kids’ aprons with their names for art days. Embroidered aprons make wonderful host gifts and sell well at holiday markets — and a small echoing motif on the bib ties the whole piece together.
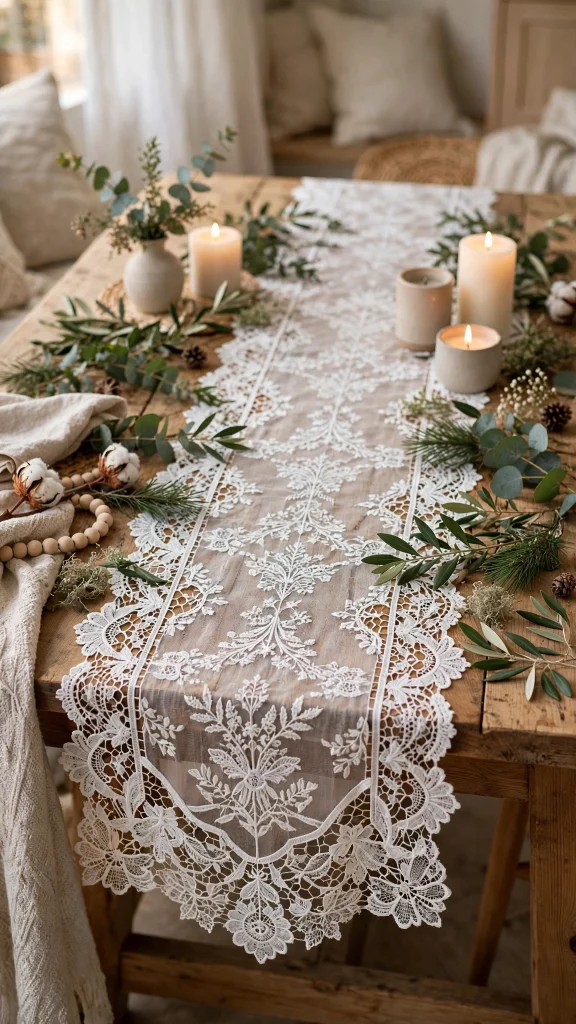
Idea 9: Freestanding Lace Table Runner
Freestanding lace is one of the most breathtaking things an embroidery machine can produce — delicate, heirloom-quality lace created entirely from thread, with no fabric base at all. A freestanding lace table runner draped over a dining table looks like a European boutique find, yet it is stitched on water-soluble stabilizer in sections and joined together. Floral medallions and Victorian scrollwork are classic choices, and the finished runner is surprisingly sturdy once rinsed and pressed.
This project lives or dies on technique. Use two layers of fibrous water-soluble stabilizer, hooped drum-tight, with 40-weight thread top and bobbin — matching bobbin thread is essential since both sides show. Stitch at a moderate speed, and buy designs specifically labeled for freestanding lace rather than adapting regular files, since well-digitized lace has the engineering built in. Join finished sections with a narrow zigzag, aligning the pattern carefully.
Rinse the completed runner in lukewarm water until all stabilizer dissolves, roll it in a towel to remove moisture, and block it flat to dry so the lace keeps its shape. The result is a washable heirloom that draws gasps at dinner parties. Make matching placemats too, or consider this technique for wedding decor — freestanding lace ring bearer pillows are unforgettable. It is a slow project, but the wow factor is unmatched.
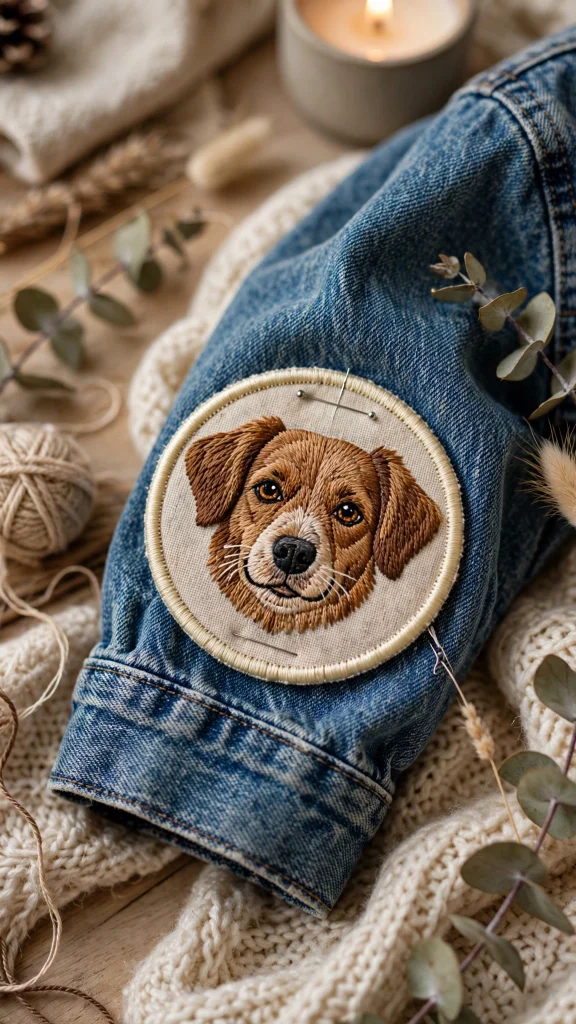
Idea 10: Custom Pet Portrait Patches
Custom pet portrait patches combine the charm of embroidery with the joy of celebrating a beloved animal — and they are endlessly giftable. Using photo-to-embroidery software or a digitizing service, a pet’s photo becomes a stitch file capturing their markings and expression in thread. Ironed or sewn onto jackets, backpacks, or tote bags, these patches are keepsakes pet lovers treasure — and a genuinely unique small business offering.
Good results start with a good photo: choose a clear, well-lit headshot with strong contrast between the pet and the background. Simplify the design — embroidery reads best with bold shapes and limited color changes, so a stylized portrait with five to eight thread colors outperforms a photorealistic attempt. Stitch on twill or felt with firm cutaway stabilizer, cut the patch shape with a half-inch margin, apply iron-on adhesive to the back, and finish the edge with a satin stitch border.
Add the pet’s name arched beneath the portrait for an extra-special touch. These patches make beloved gifts for new pet parents and memorial keepsakes, and they are fun on a denim jacket. If you sell them, clear photo requirements and a proof approval step keep customers happy. Even as a personal project, stitching your own pet’s face in thread is pure joy — start with one patch and you will soon be making them for every animal lover you know.
Final Thoughts
Machine embroidery rewards curiosity — every project teaches you something new about fabric, stabilizer, and design, and the ten ideas here are just the beginning. Start with quick wins like monogrammed napkins or in-the-hoop ornaments to build hooping confidence, then work up to showstoppers like freestanding lace and denim jacket panels.
Most importantly, stitch things you love and give them generously. A handmade embroidered gift carries thought, time, and care in every stitch — something no store shelf can replicate. Whether you are decorating your home, stocking a craft fair table, or simply enjoying quiet hours at your machine, these projects will keep your hoop busy and your creativity flowing.